Week-2 Lab - Data Acquisition and Duplication
Part1: Working with FTK Imager and Forensic Imaging
Pre-Lab Reading
Learning Objectives
- Apply appropriate forensic tools and techniques in a realistic investigative scenario.
- Use FTK Imager to create, mount, and verify forensic images.
Employability Focus
- Demonstrate evidence handling and acquisition skills aligned with industry practice.
- Produce valid forensic images that can withstand legal scrutiny.
About FTK Imager
FTK® Imager is a data preview and imaging tool that allows investigators to create and examine forensic images without modifying the original evidence. It produces bit-for-bit copies of digital media, preserving all data - including file slack, unallocated space, and deleted items.
- FTK is available on your university PC
- And if you're using your own PC (windows), you can download it from here.
When used correctly (with a hardware write-blocker, read more), FTK Imager enables safe acquisition for later analysis in tools such as FTK, Autopsy, or X-Ways.
Logins
- Login to you Forensic Workstation using
studentor.\cyberstaff
Activity 1 - Creating a Forensic Image
In this activity, you will create a forensic image using FTK Imager. You can complete this task using one of two routes, depending on whether you have access to a USB drive. - Route 1: Imaging a physical USB device - Route 2: Imaging the contents of a folder (no USB required)
Apart from the source of evidence selection (Step-5), the steps are the same
-
Collect a USB drive.
-
Log in to your Cyber Lab workstation.
-
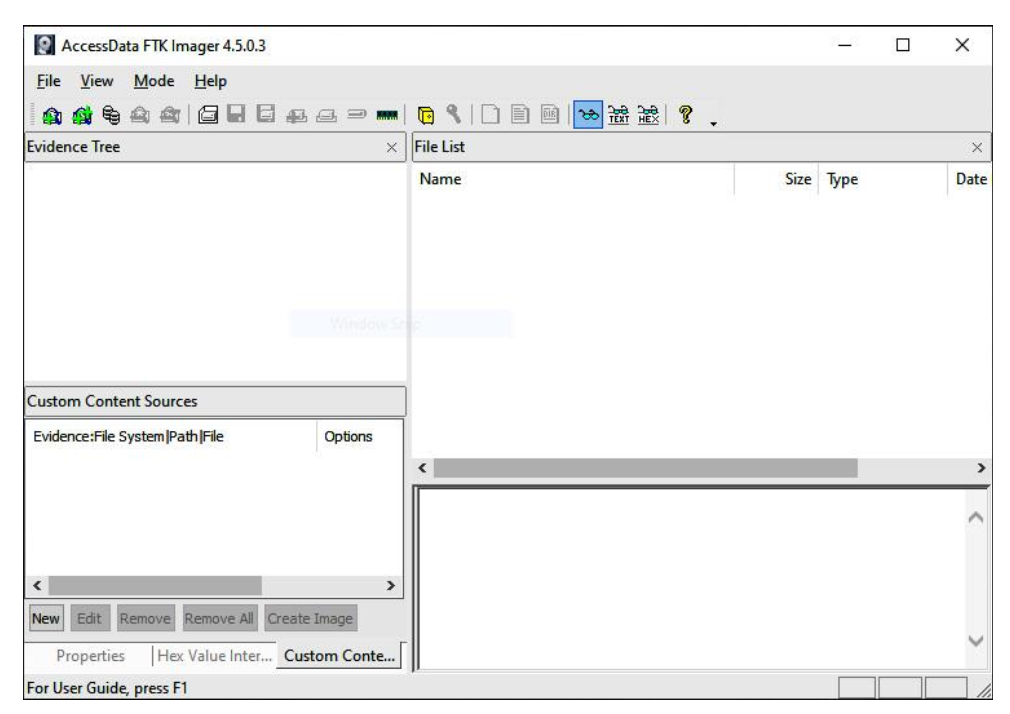
Launch AccessData FTK Imager (Run as Administrator).
-
Go to File - Create Disk Image.
-
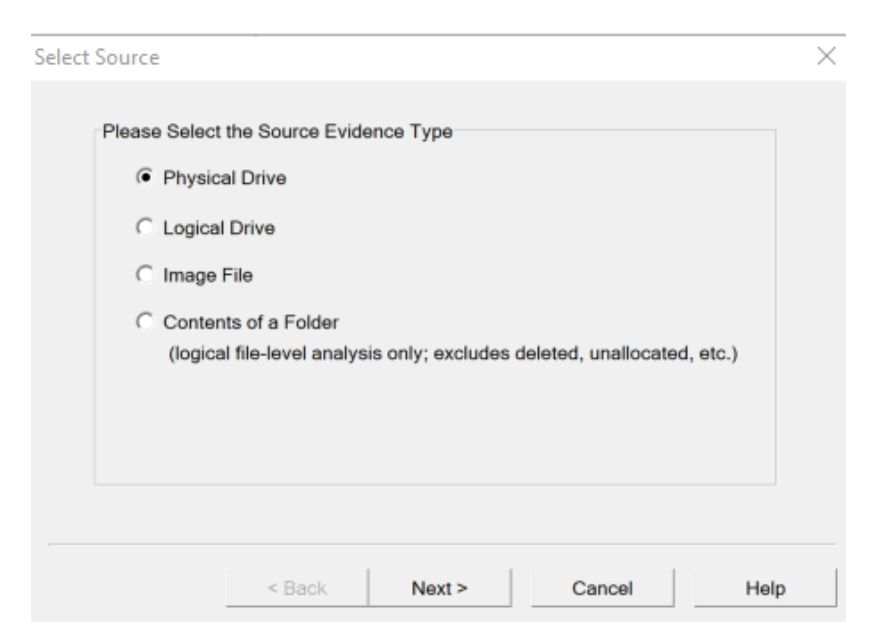
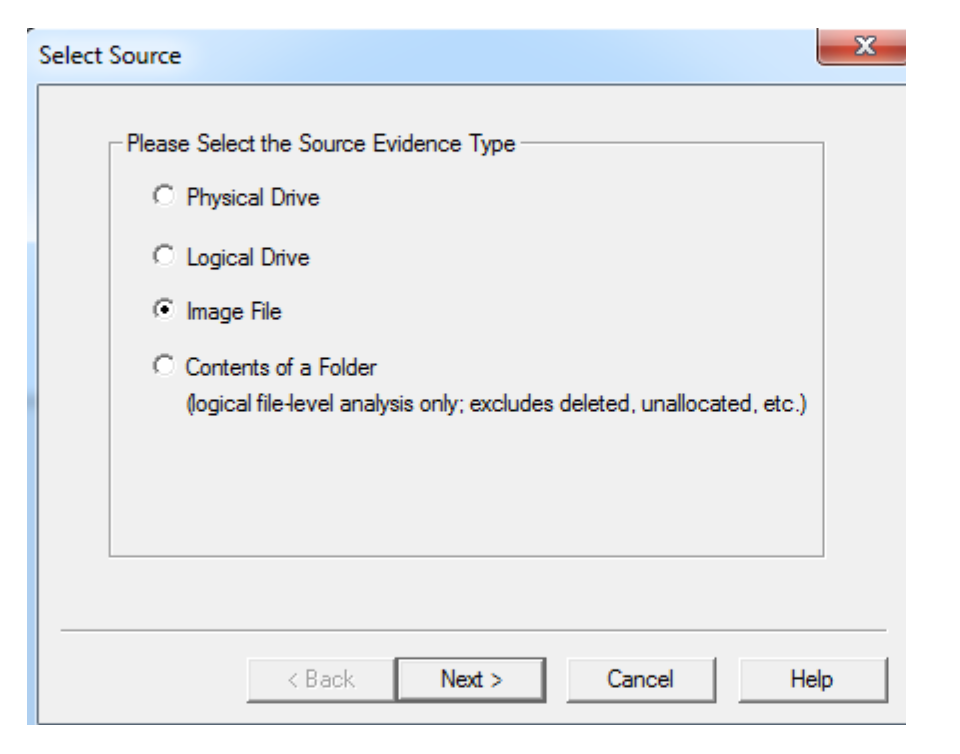
Select Source of Evidence:
- For Rounte-1 --> Choose Physical Drive - click Next.
- For Rounte-2 --> Choose Content of a Folder - click Next.
-
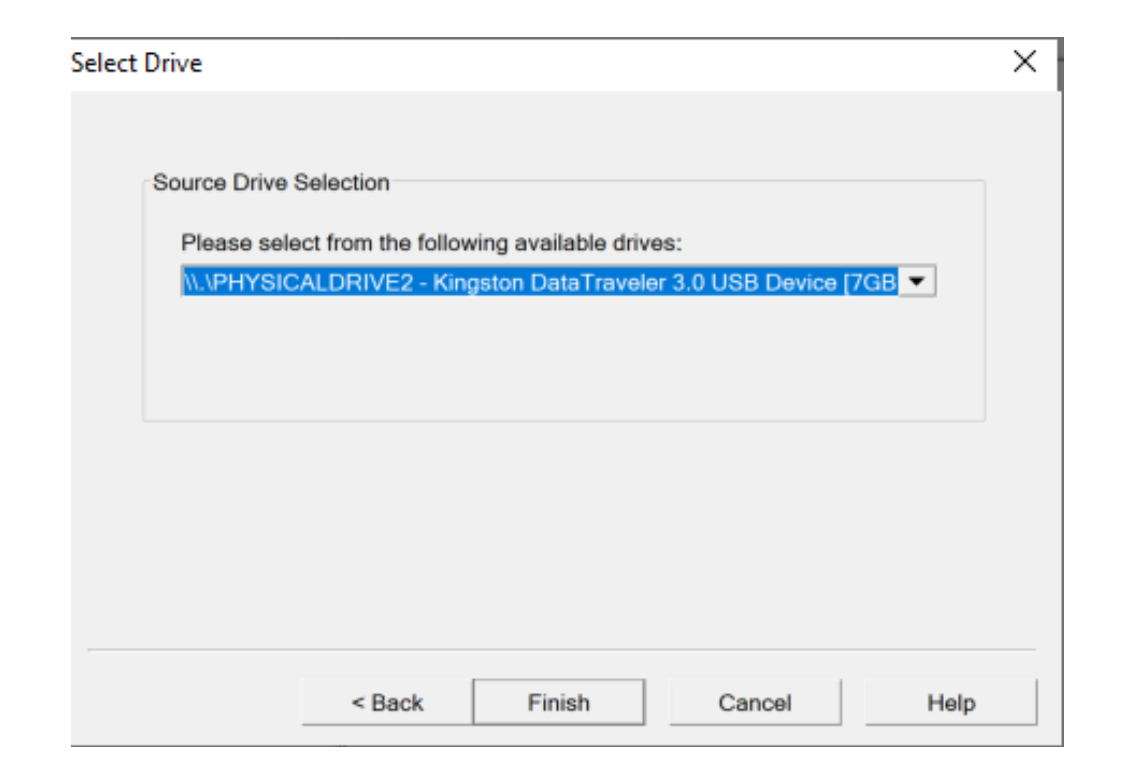
Select the correct suspect drive - click Finish.
Ensure you select the correct device - double-check the drive size and label.
-
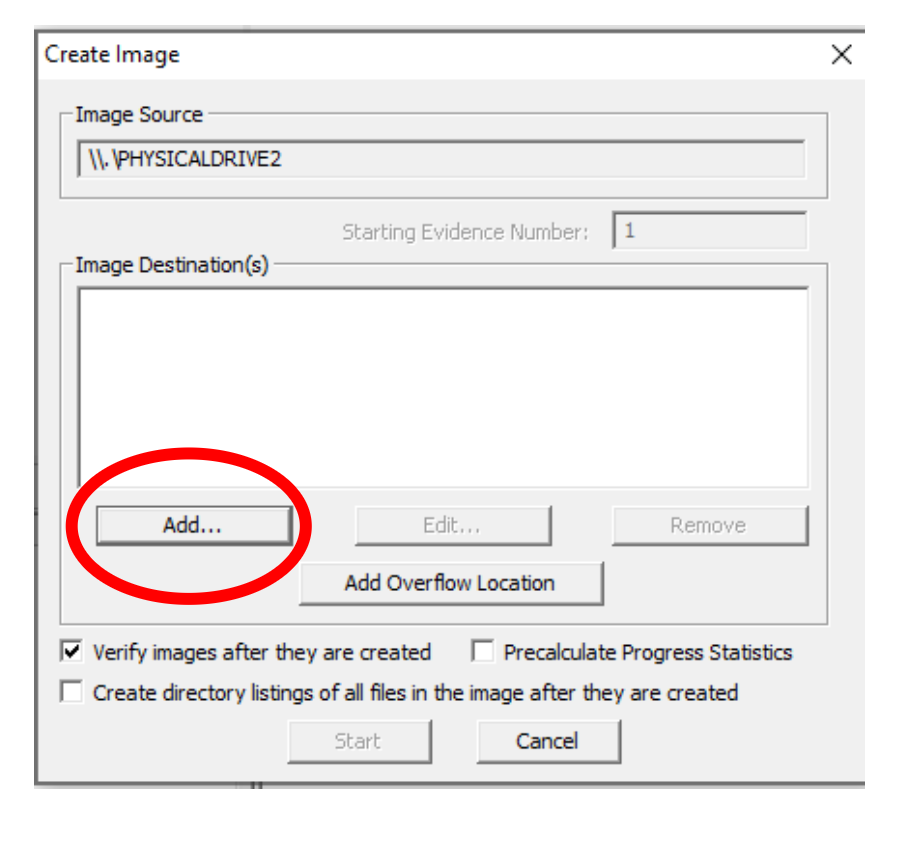
Click Add... to define the image destination.
-
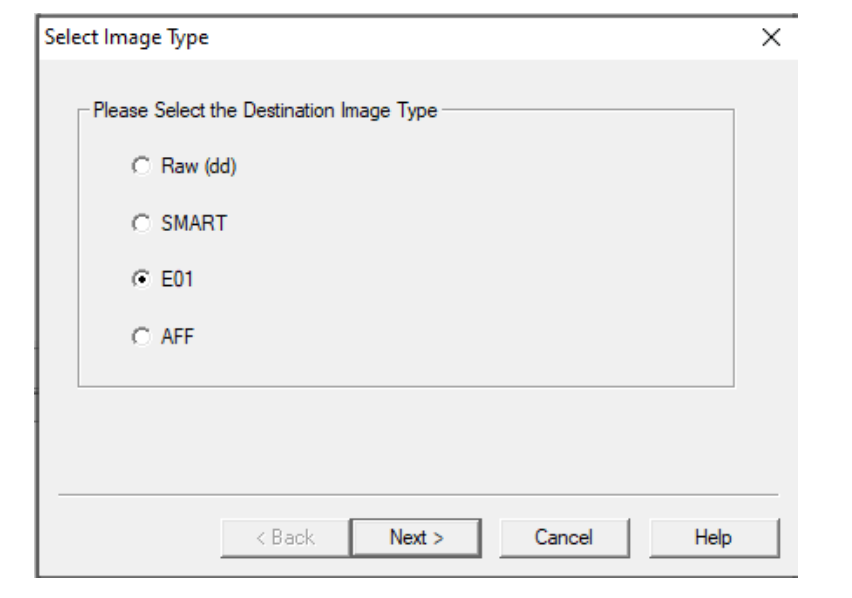
Select E01 (EnCase image format) - click Next.
- Question: What is an E01 file format and why is it commonly used?
- Question: What is an E01 file format and why is it commonly used?
-
Enter case information (Name, Examiner, Evidence Number) - click Next.
-
Verify destination path and filename:
E_01_Physical_Image_YourName
- Set Fragment Size = 0 (single file).
- Click Finish.

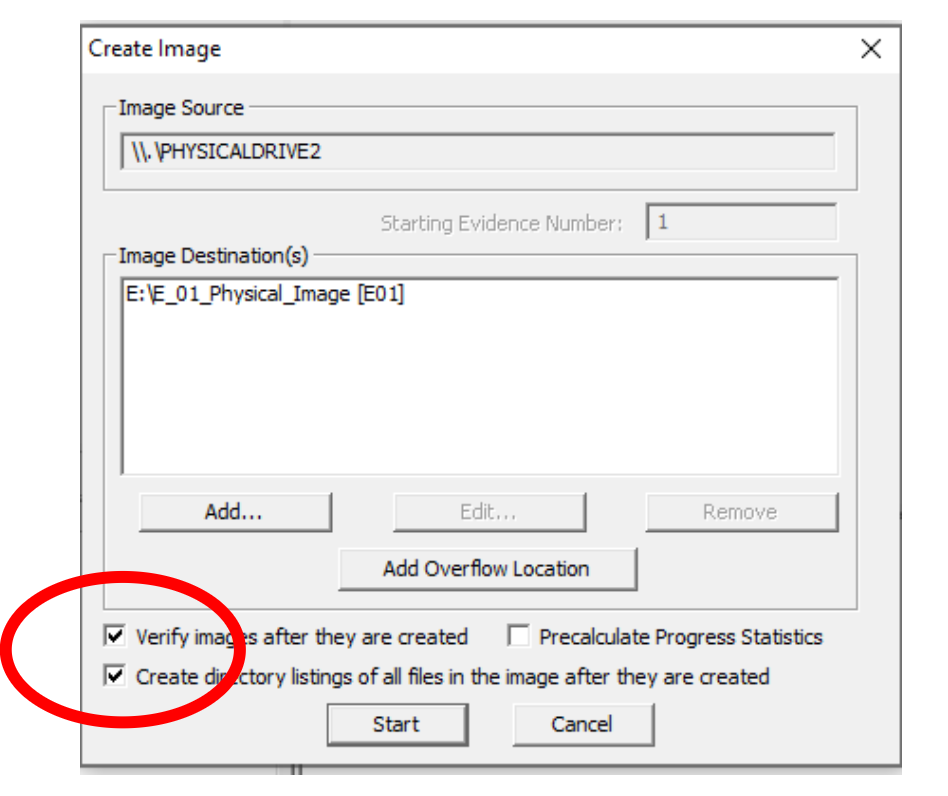
- In Create Image, enable:
- Verify images after they are created
- Create directory listings of all files in the image
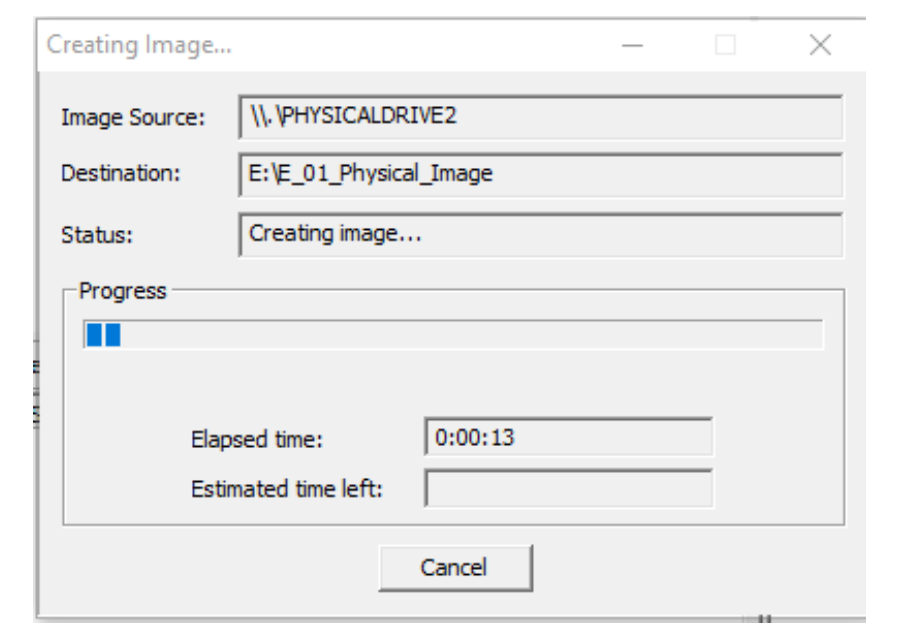
- Click Start to begin acquisition.
- Observe progress and note any errors or warnings.
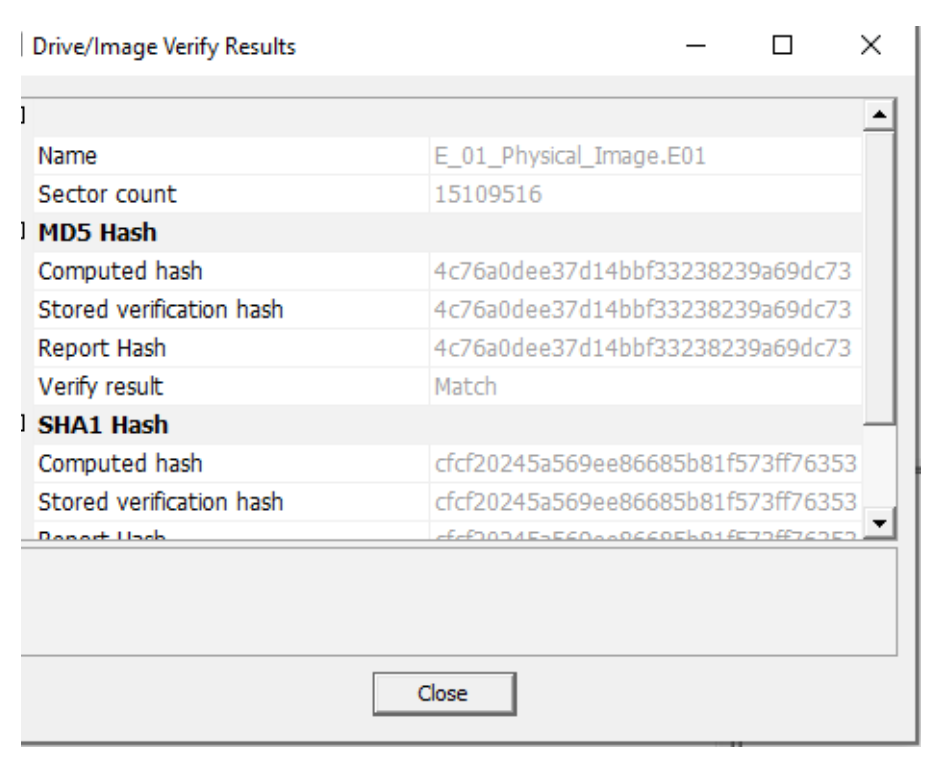
- When imaging completes, review the summary window showing:
- MD5 and SHA-1 hashes
- File count, image size, and sector information
- Confirm both hashes match for each algorithm - if they do, integrity is preserved.
- Save the text log report generated by FTK Imager.
- Safely remove the USB source and return it to your lecturer.
- Backup your image to your personal USB or OneDrive - you’ll use it again later.
Reflection: Why is it important to verify hashes immediately after imaging?
Activity 2 - Adding Evidence to FTK Imager
For this task you can using the evidence you just created or you can download Thumbdrive.E01 from Moodle (Week 2).
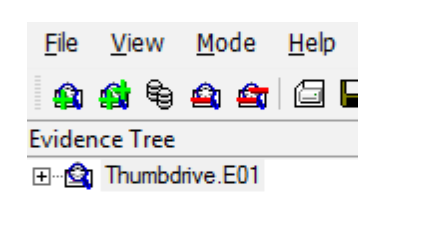
- Open FTK Imager - File - Add Evidence Item - Image File.
- Select the your file from Activity one or
Thumbdrive.E01file - click Finish.
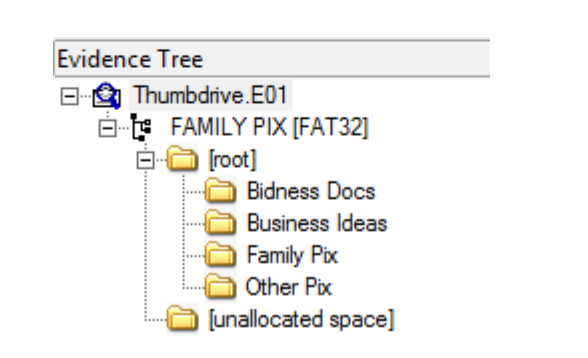
- Expand the evidence tree (click + beside the image).
- Navigate to the Family Pix directory.
- Change to View - Thumbnails to preview pictures.
- Select MySister.jpg - right-click - Properties.
- Record:
- File size:
__________ - Created date/time:
__________
Mini-Task: Why might timestamps differ between the file’s metadata and the system clock?
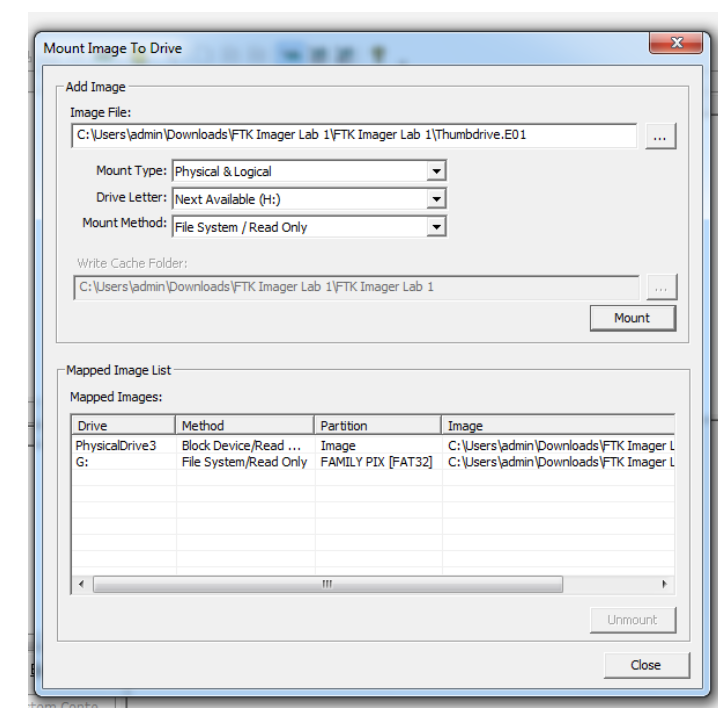
Activity 3 - Mounting an Image as a Local Drive
-
Remove all evidence items (File - Remove All Evidence Items).
-
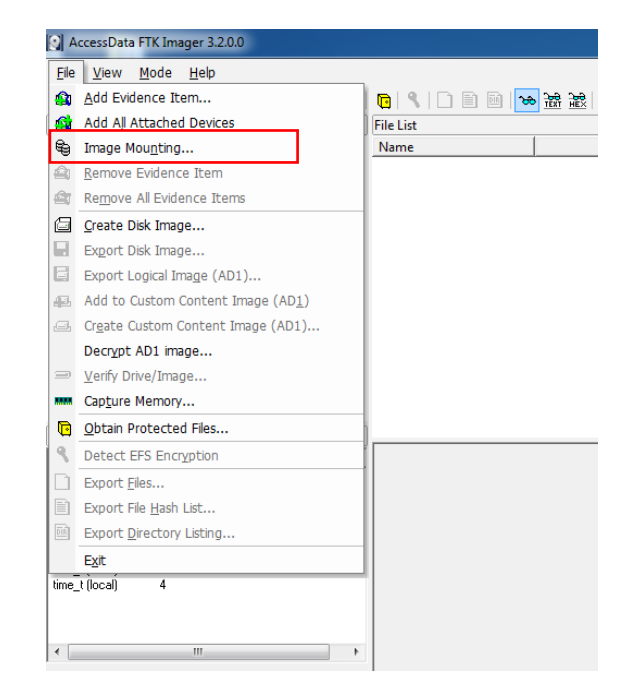
Go to File - Image Mounting.
-
Select your Thumbdrive.E01 or your own created image.
-
Choose:
- Mount Type: Read-Only
- Drive Letter: (select available)
- Mount Method: Read-Only Recommended
-
Click Mount.
-
Open File Explorer - This PC - verify the new mounted drive.
-
To unmount: File - Image Mounting - select drive letter - Unmount.
Reflection: What are the advantages of mounting an image rather than opening it within FTK Imager?
Further reading:
Forensics 101 - Acquiring an Image with FTK Imager (SANS)
Best,
Ali.