Week-2 Lab - Data Acquisition and Duplication
Part-2: Autopsy Forensic Tool.
Overview
This lab introduces the core functionality of the open-source Autopsy forensic tool - a graphical interface for the Sleuth Kit command-line suite.
Investigators use Autopsy to examine disk images, organise evidence into cases, bookmark artefacts, and generate forensic reports.
Autopsy runs on Windows, Linux, macOS, and UNIX systems, and can:
- Analyse disk images and perform detailed file system investigations (NTFS, FAT, EXT).
- Identify and recover deleted files.
- Bookmark key evidence for later reporting.
- Generate forensic reports summarising findings and tagged artefacts.
Autopsy supports image formats such as RAW (.dd) and E01 (EnCase format).
Pre-Lab Reading
Learning Objectives
By completing this lab, you will:
- Apply appropriate forensic practices and tools to analyse digital evidence.
- Create and manage a case in Autopsy.
- Identify deleted files and build a timeline of file system activity.
- Generate and interpret an investigator’s report.
Activity 1 - Create an Autopsy Case
- Log in to your Cyber Lab workstation.
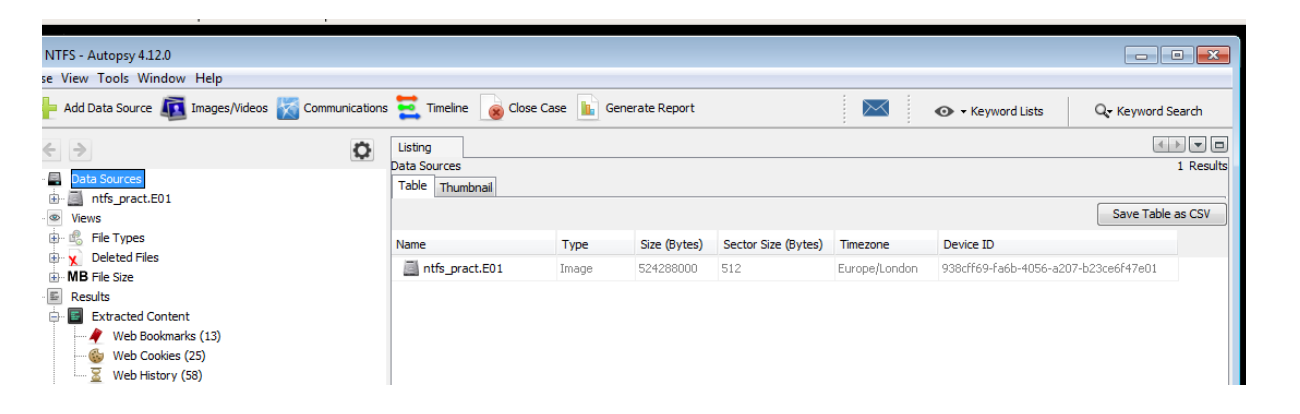
- From Moodle -- Week 2 > Lab 2, download the forensic image file
ntfs_pract.E01from your Moodle page-Week2. You can access from here. - Launch Autopsy.
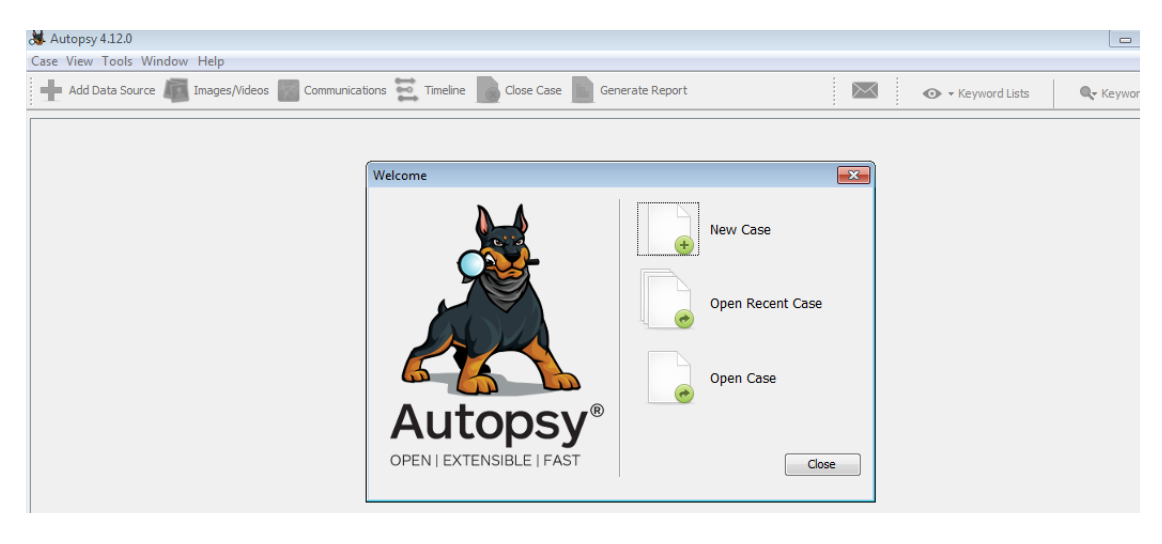
- Choose Create New Case.
- Case Name:
NTFS_Capture - Base Directory: your Documents folder
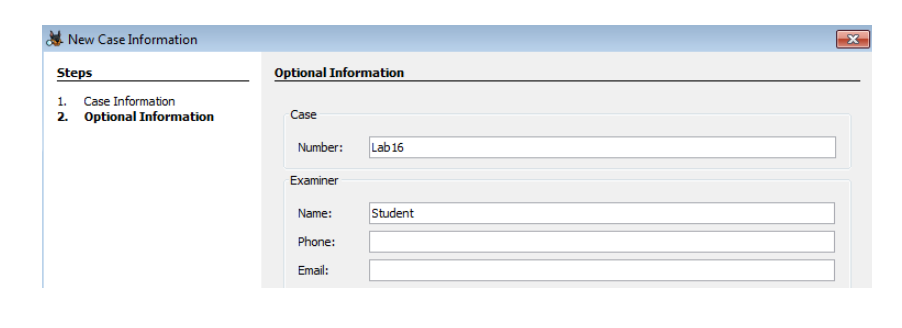
- Examiner Name: your Student ID
- Case Number:
DF-LAB02
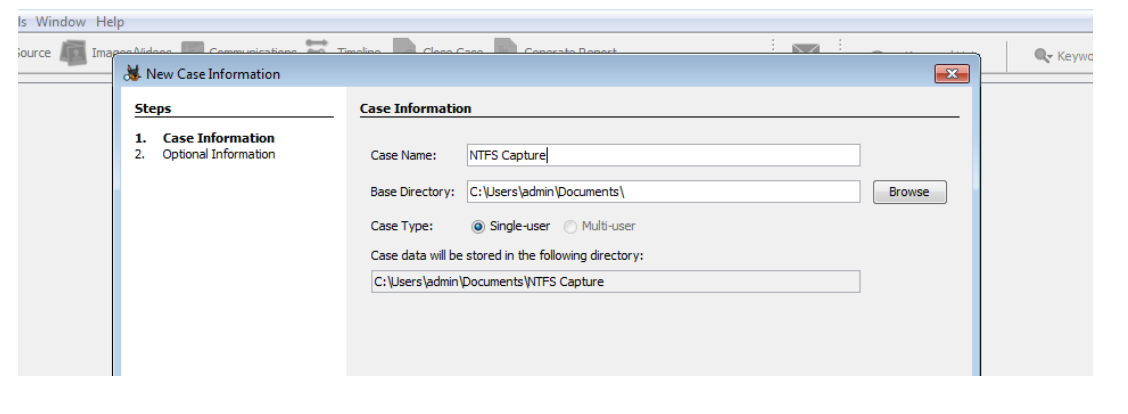
- Case Name:
- Click Finish to open the Add Image wizard.
- Add Image Source -- Image File, then browse to select
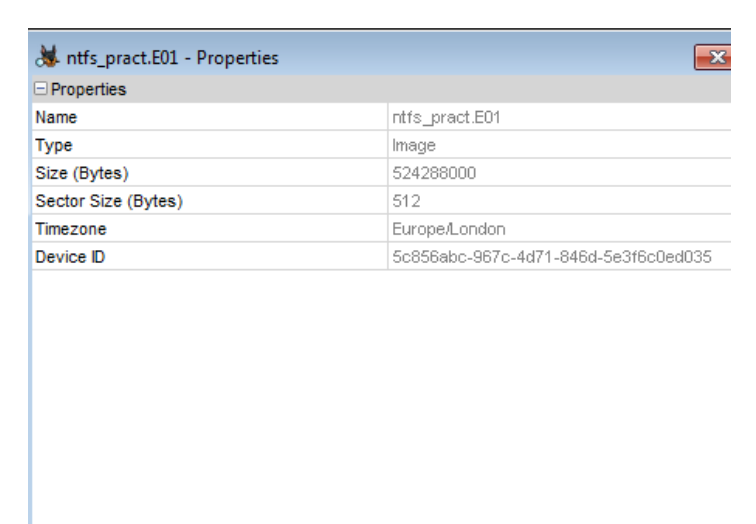
ntfs_pract.E01. - Set Time Zone:
(GMT +0:00) Europe/London.
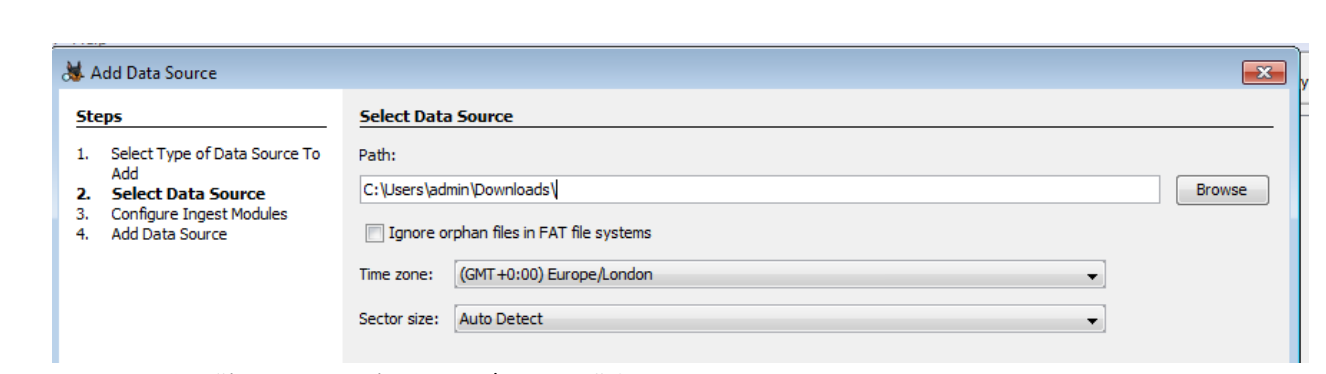
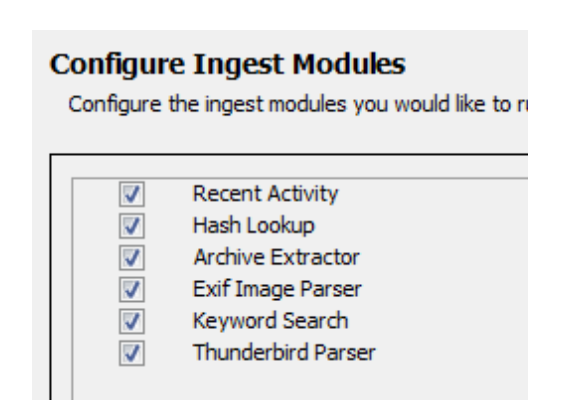
- Leave all modules selected to enable full analysis.
- Click Finish to begin processing the image.
Quick Check
- What happens if you add the wrong time zone?
- Why might this affect your ability to reconstruct a timeline later?
Activity 2 - Examine the Image in Autopsy
Autopsy’s interface resembles Windows Explorer: the left pane shows the case tree; the right pane lists files and artefacts.
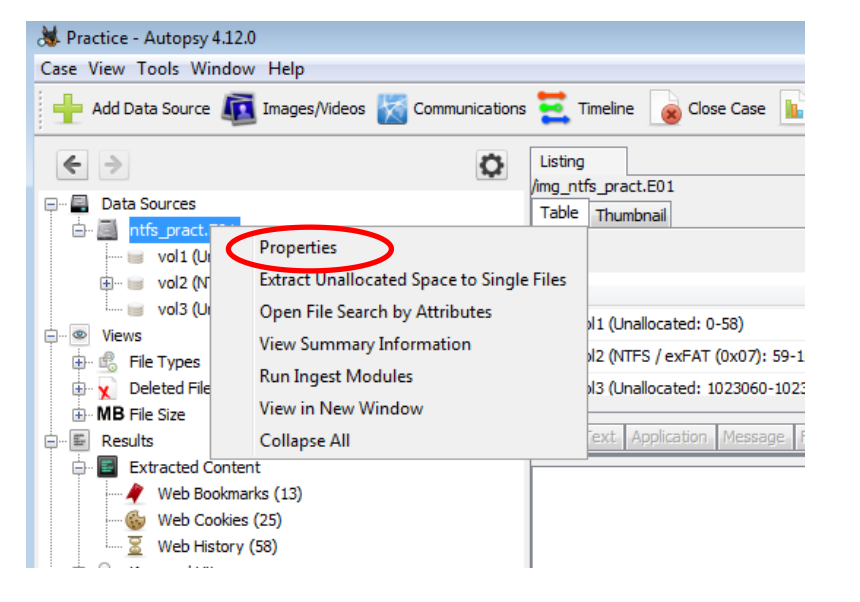
- Expand the image (
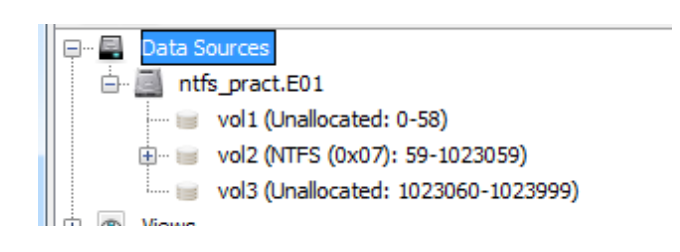
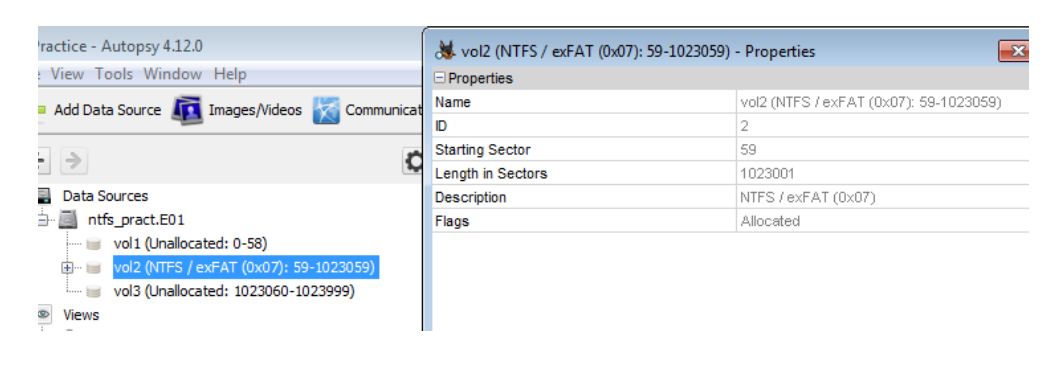
ntfs_pract.E01) -- right-click -- Properties.- Volume starts at sector 59 and length = 1,023,001 sectors.
- Volume starts at sector 59 and length = 1,023,001 sectors.
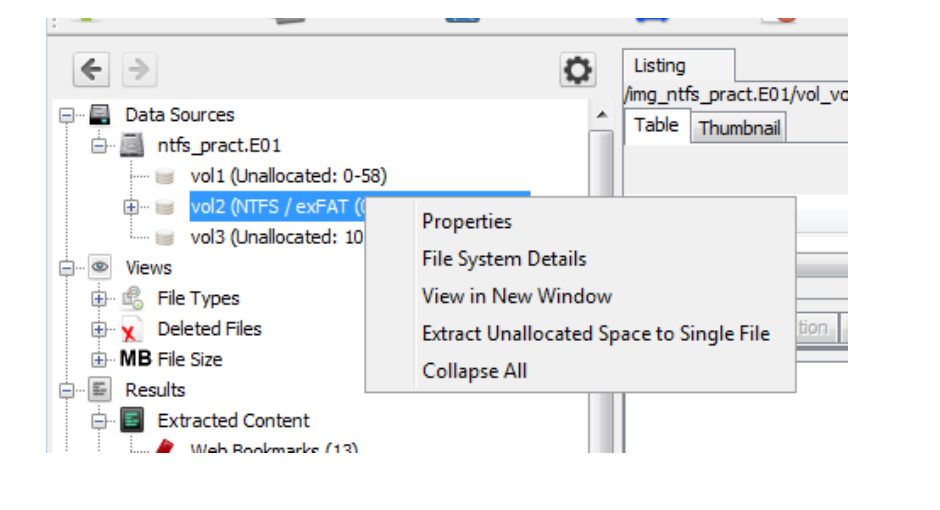
- Expand
vol2 (NTFS)-- right-click -- Properties.
 Vol 1 and Vol 3 are unallocated (unused).
 - Highlight
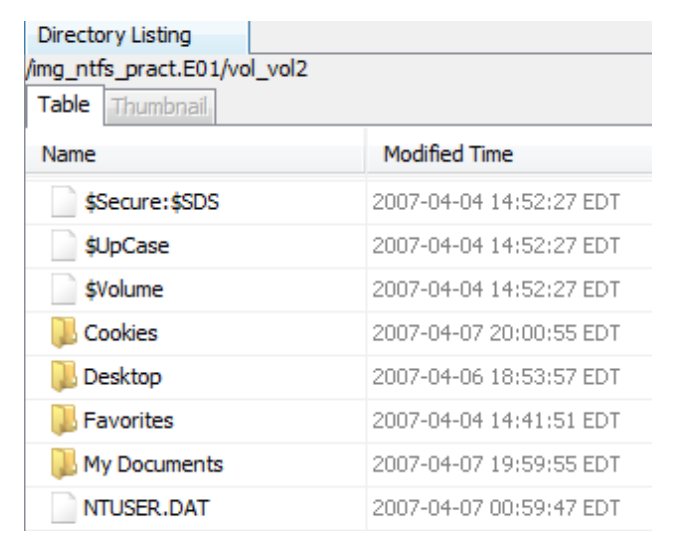
vol2 (NTFS)in the right pane and open it.
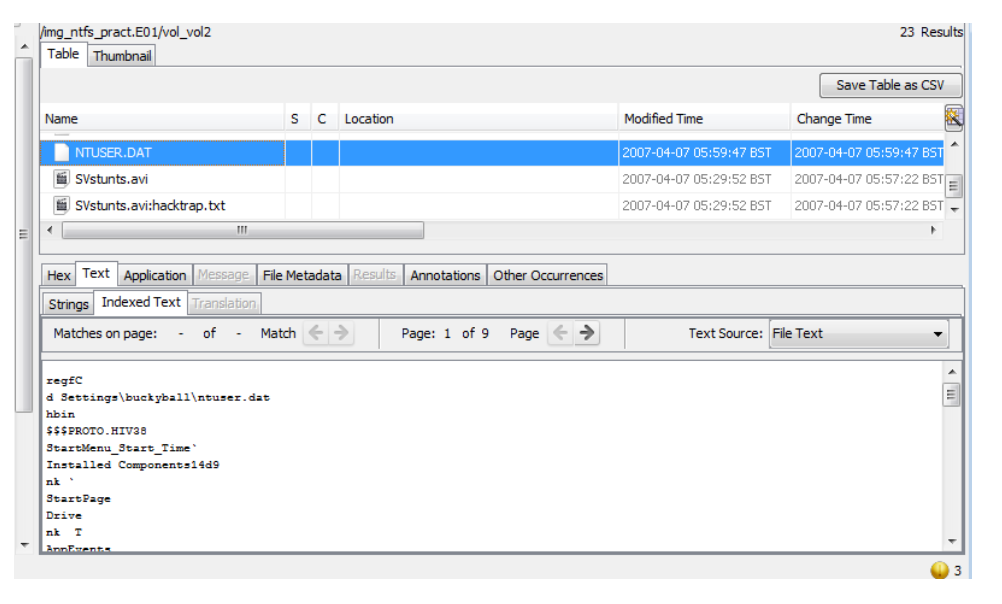
- Locate NTUSER.DAT in the Table view.
The NTUSER.DAT file stores Windows user-profile data such as login timestamps and user preferences.
- Switch to Hex View to inspect the raw hexadecimal data.

- Expand Views > File Types > By Extension > Images to display picture files.
 Files shown here include active and deleted images recovered from the volume.
 - Click the Thumbnail tab to preview images visually.
- Expand Videos and play one in the Media View window.
- Expand Documents > Office - deleted documents are marked with a red X.
- Highlight the last document and switch to Text View to preview its content.
Task - Evidence Interpretation
Record short answers in your notes:
- What might
NTUSER.DATreveal about user activity? - What could deleted Office documents suggest about user intent or concealment?
Activity 3 - Keyword Search
Autopsy’s Keyword Lists tool allows pattern-matching searches using regular expressions.
- Open Keyword Lists from the top menu.
- Select URLs -- click Search.
- Review the returned results in the tree.
Question:
How could keyword searches help investigators identify traces of web browsing, email, or messaging activity?
Activity 4 - Generate a Report
Producing a clear, verifiable report is one of the most important forensic tasks.
- Under File Types > Images, right-click an image --
Tag File -- Tag and Comment.- Tag:
Bookmark - Comment: brief description of relevance.
- Tag:
- Repeat for two or three documents under Documents > Office.
- Go to Tools > Generate Report.
- Choose HTML format -- Next.
- Select Tagged Results -- Bookmark -- Finish.
- Click the generated report link to open it in a browser.
- Review:
- Case metadata (examiner, evidence source, image info).
- Tagged artefacts and their comments.
Ensure your report clearly documents each artefact and its relevance to the investigation.
Extra Activity - Correlate Findings
- Compare file timestamps using Autopsy’s Timeline View.
- Identify one deleted file and note its creation, modification, and deletion times.
- Discuss what these timings indicate about the sequence of user actions.
References
Reminder: Always document every step, tool version, and observation - detailed documentation is as important as the analysis itself.
Best,
Ali.