Week 5 - Anti-Forensics Technique-2
Lab1 - An Introduction to VeraCrypt
Learning Objectives
- Apply appropriate practices, tools and techniques in the context of a given investigative scenario.
- Encrypting data at rest.
Aim
The aim of this lab is to introduce you to the implementation of confidentiality over an asset using the interactive tool VeraCrypt.
VeraCrypt is a free software that can be DOWNLOAD from:
https://www.veracrypt.fr/en/Downloads.html
- In this lab, you will investigate and discover a number of features and functions of VeraCrypt.
- You will further utilise VeraCrypt to set up a hidden area inside an encrypted volume.
For reference:
Activity 1: Creating a Basic VeraCrypt Container
After Downloading VeraCryp, install, then open.
-
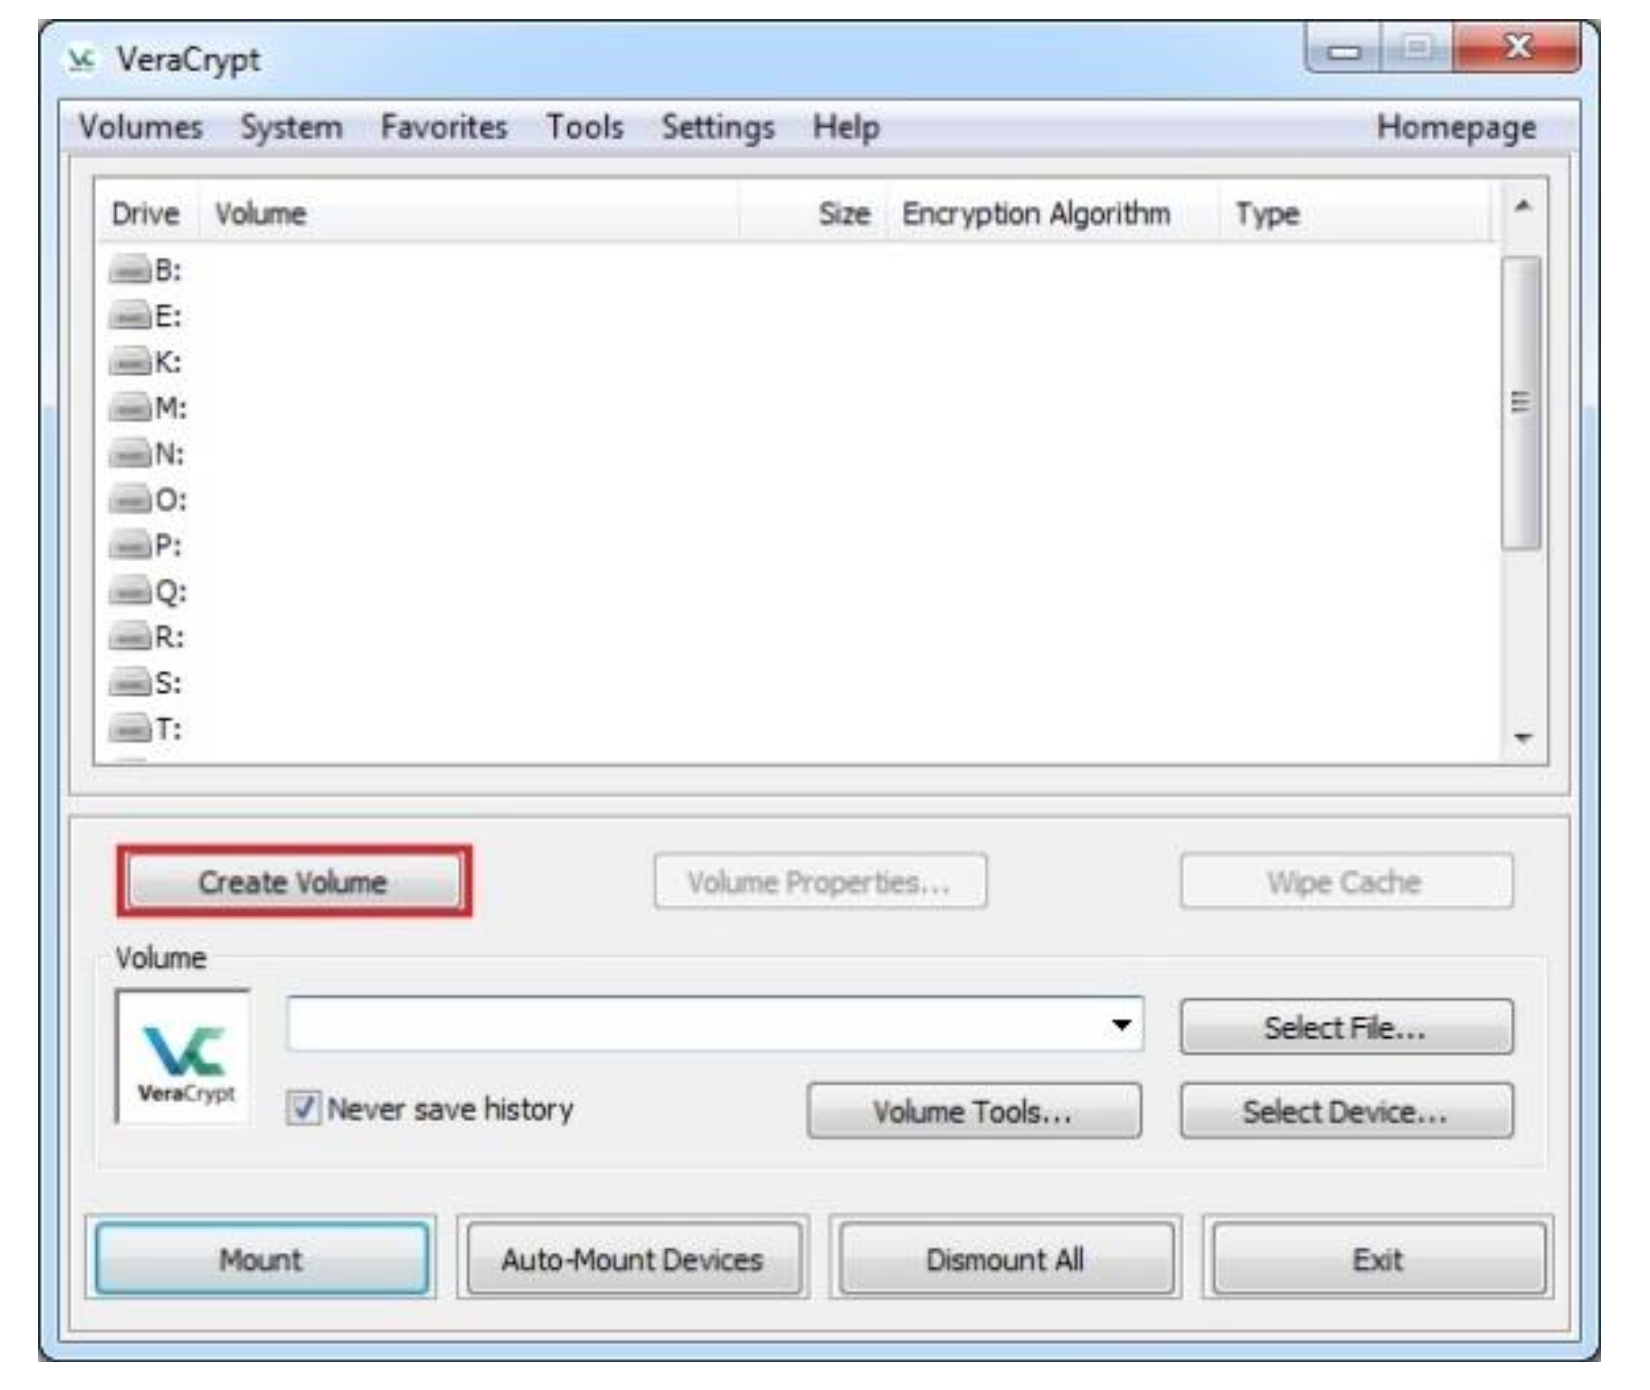
From the main VeraCrypt window click Create Volume (marked with a red rectangle for clarity).
-
The VeraCrypt Volume Creation Wizard window should appear.
Select Create an encrypted file container option.
Click Next.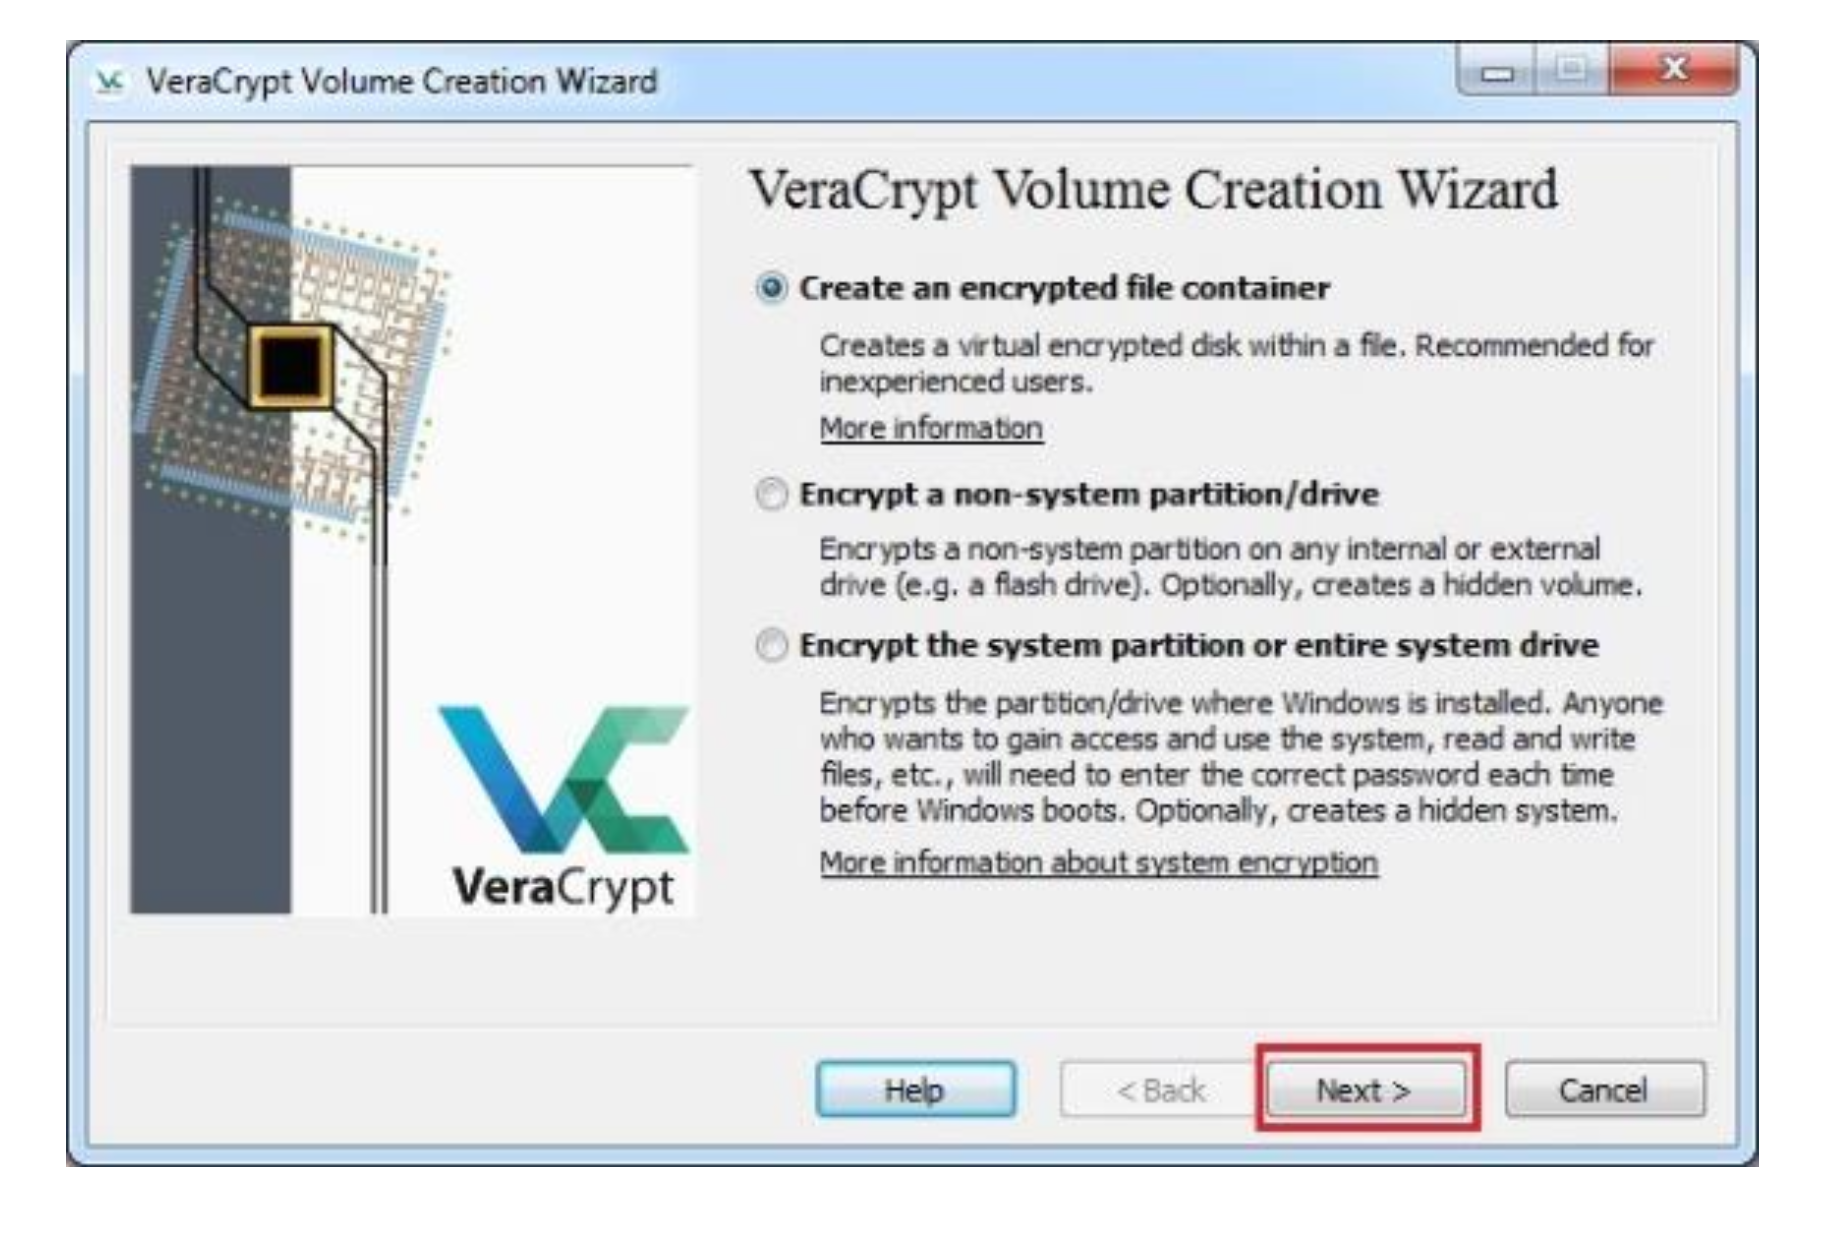
-
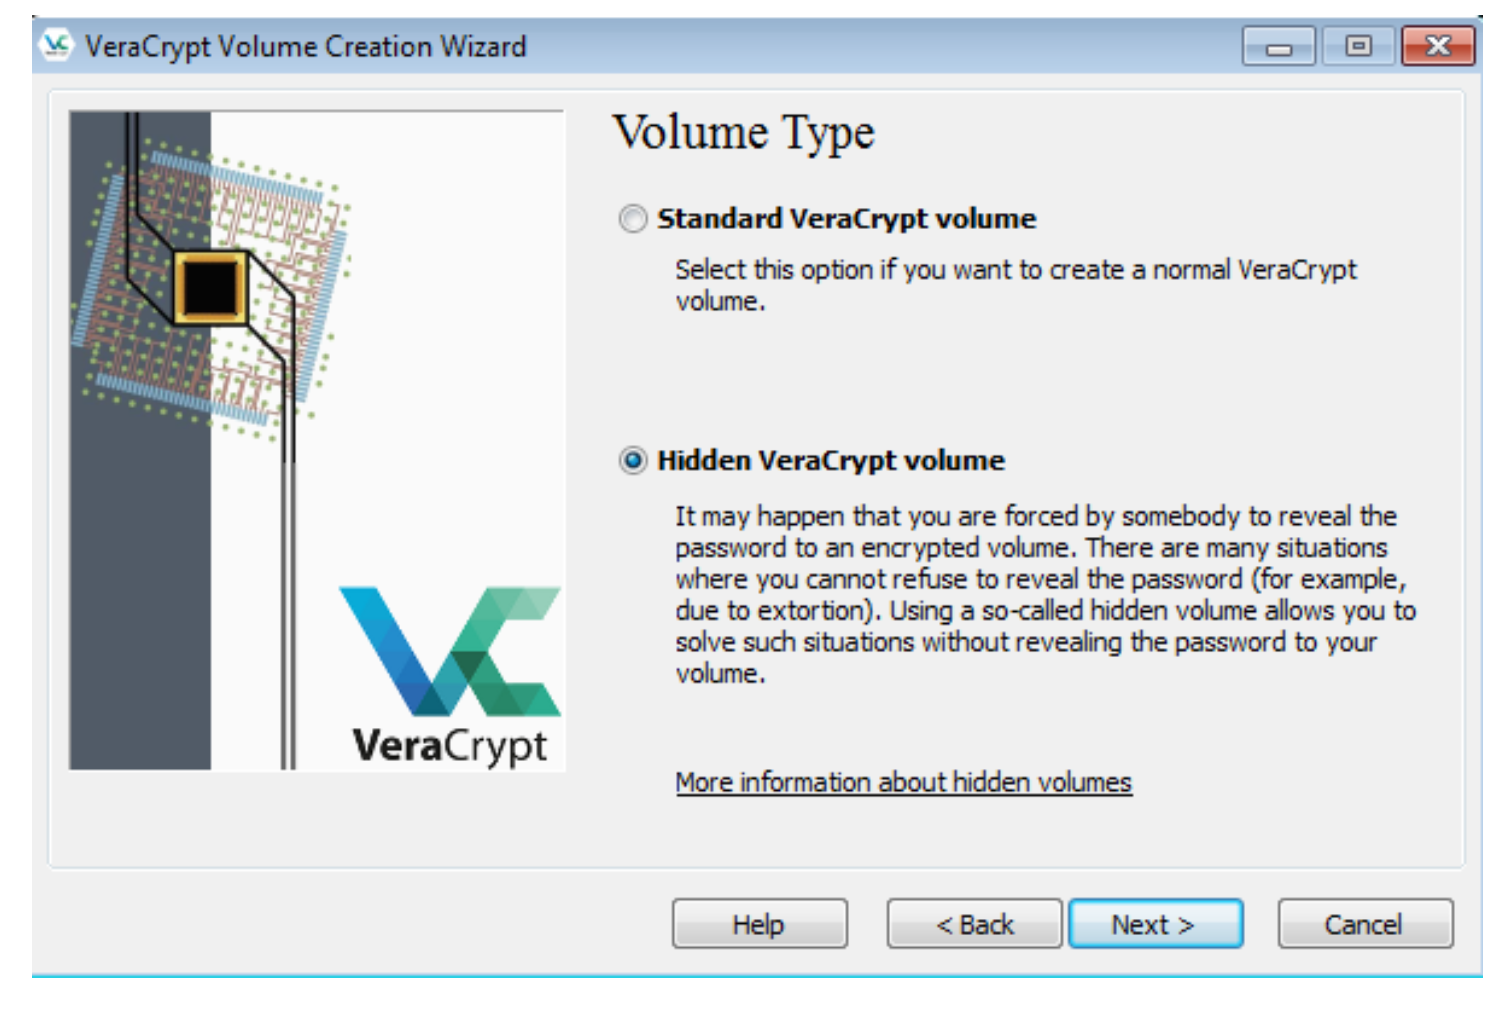
In this step you need to choose whether to create a standard or hidden VeraCrypt volume.
In this tutorial, we will choose the former option and create a standard VeraCrypt volume.
Click Next.
Click Next again.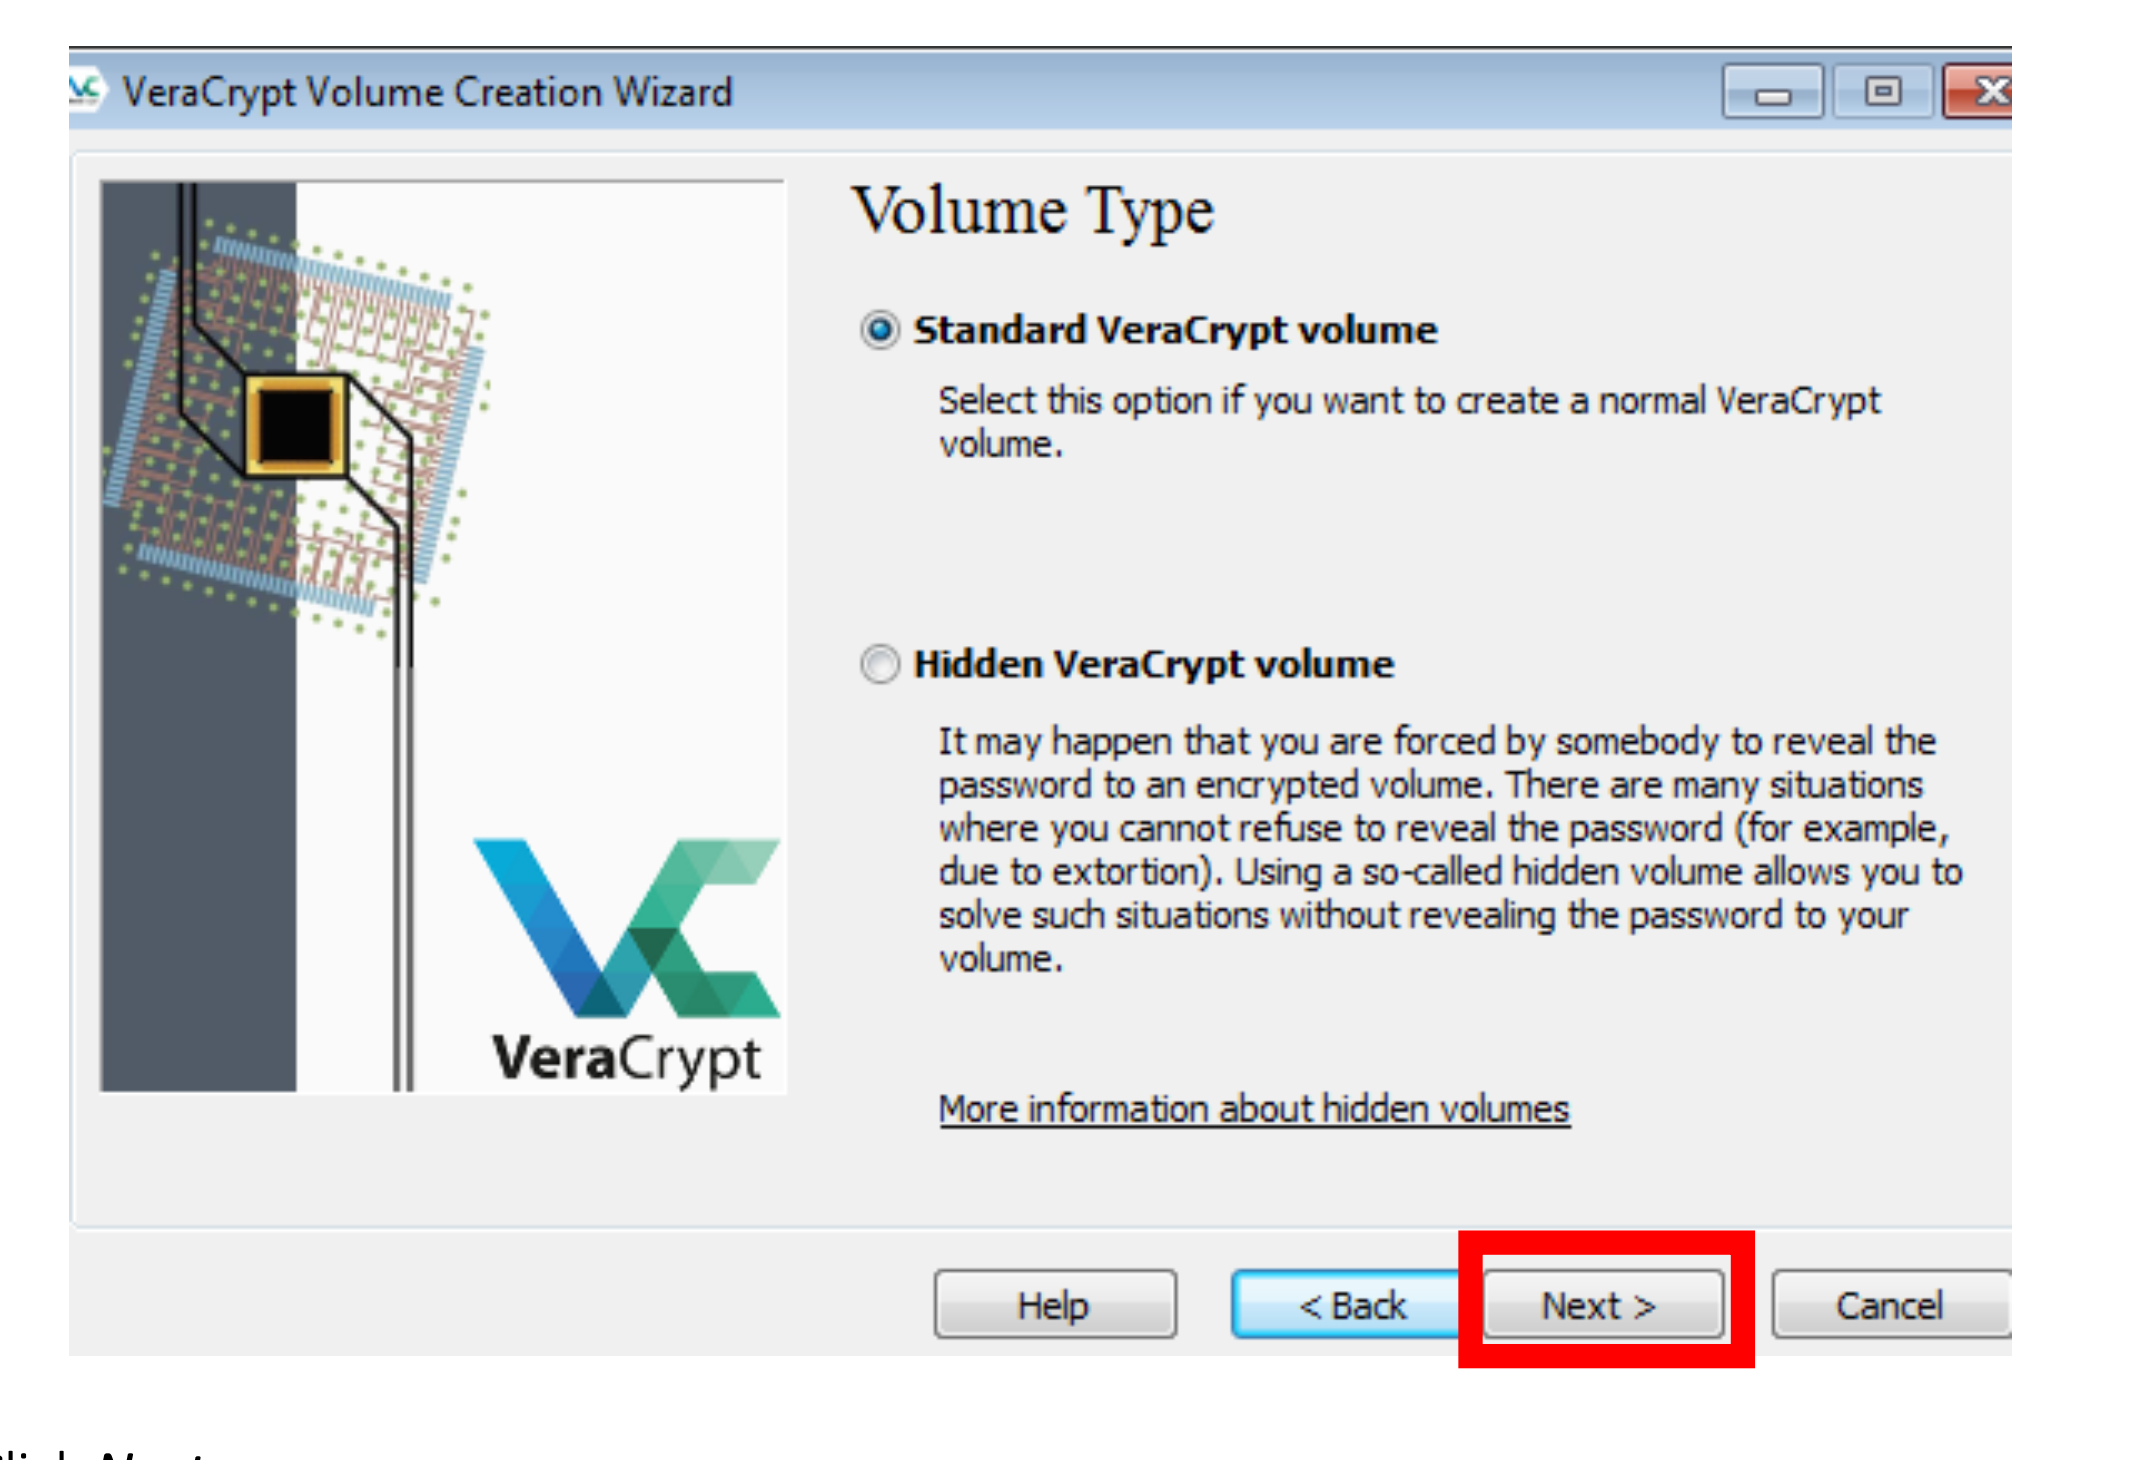
-
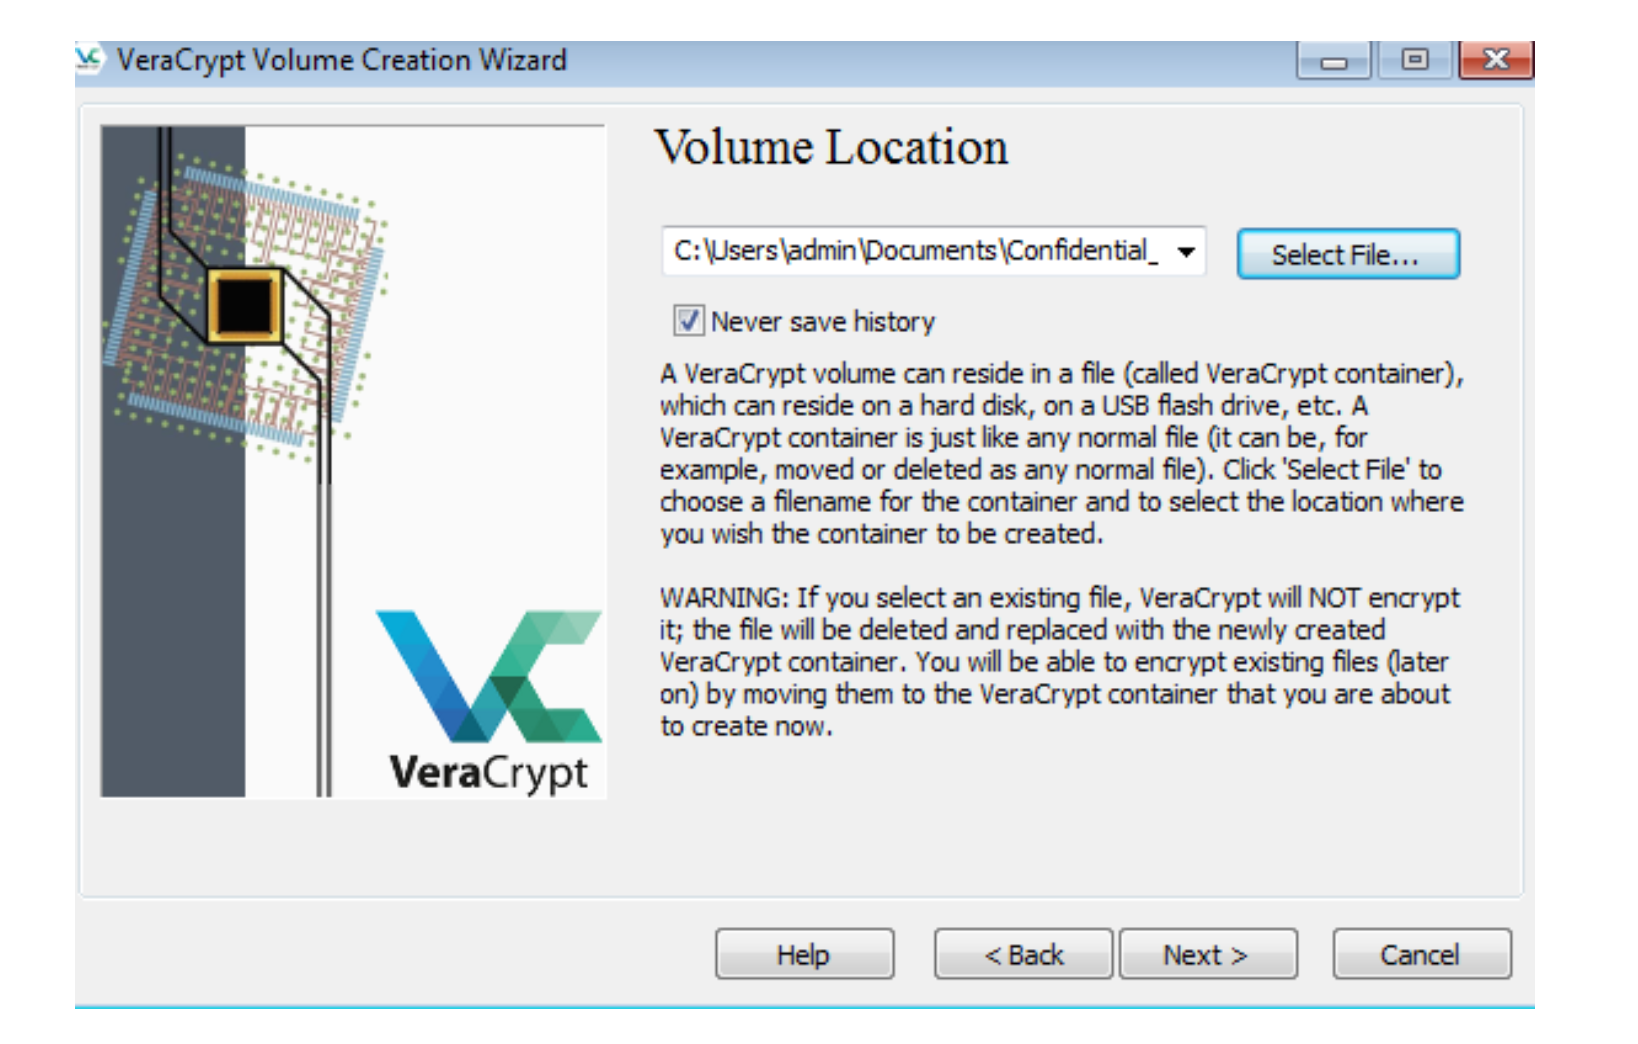
In this step you must specify where you wish the VeraCrypt volume (file container) to be created.
Note that a VeraCrypt container is just like any normal file. It can be, for example, moved or deleted as any normal file.
It also needs a filename, which you will choose in the next step.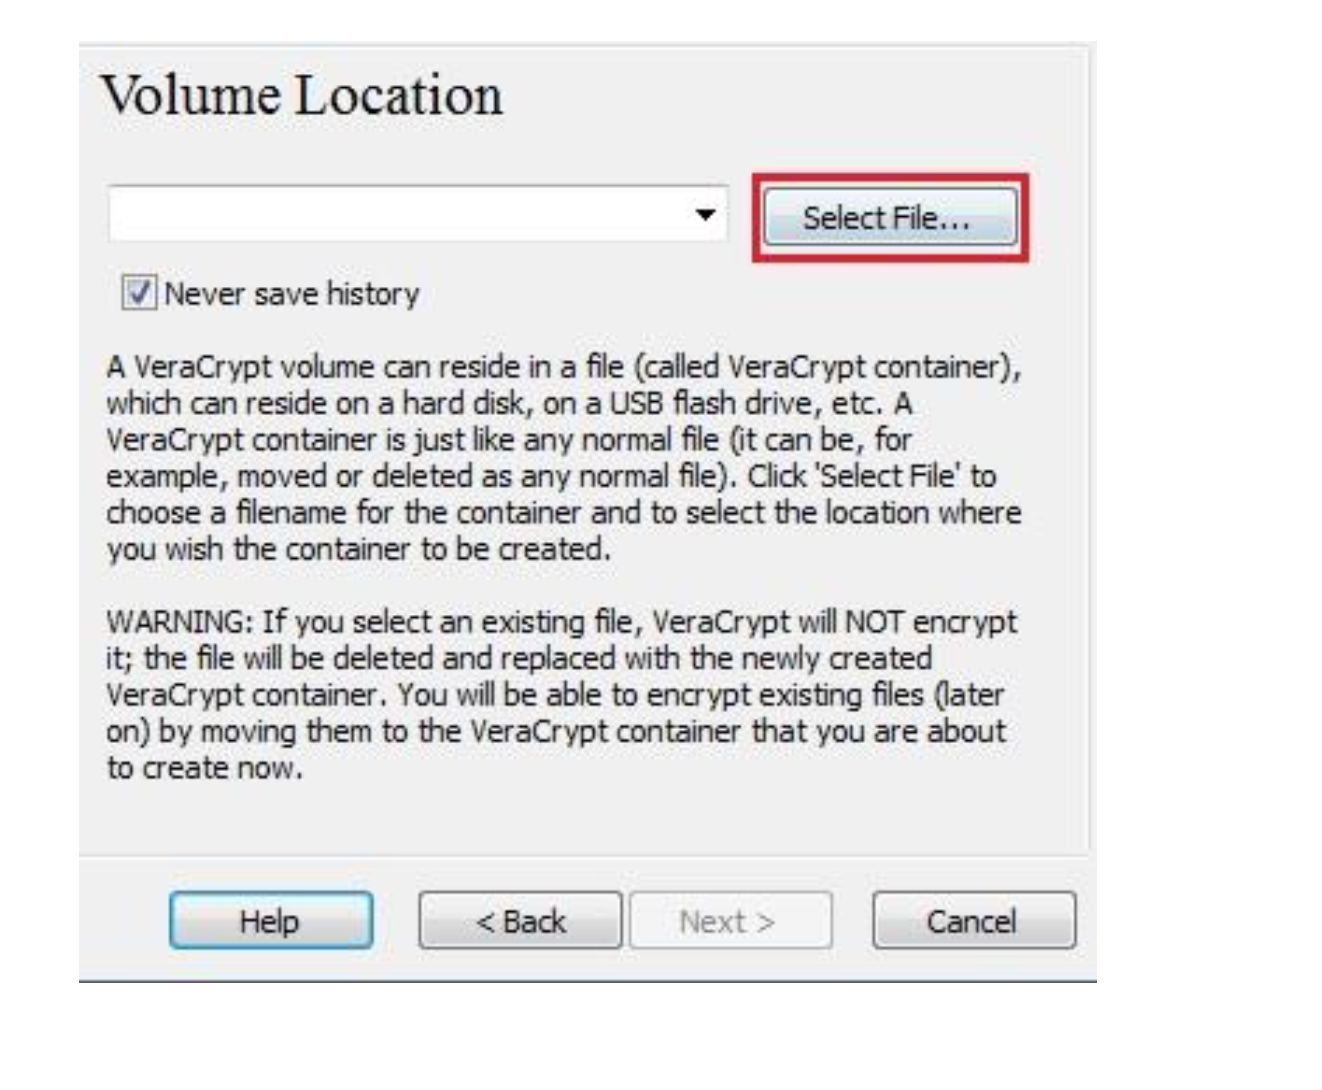
-
Click Select File.
The standard Windows file selector should appear (while the window of the VeraCrypt Volume Creation Wizard remains open in the background).In this tutorial, we will create our VeraCrypt volume in the:
I. Documents folder
II. Choose a filename for the volume (container), for example confidential.Note that the file confidential does not exist yet; VeraCrypt will create it.
Select the path where the container is to be created (i.e. Documents) and type the container file name (i.e. confidential) in the File name: dialogue box.
Click Save.The file selector window should disappear.
In the following steps, we will return to the VeraCrypt Volume Creation Wizard.
Click Next. -
In the Volume Creation Wizard window, click Next.
-
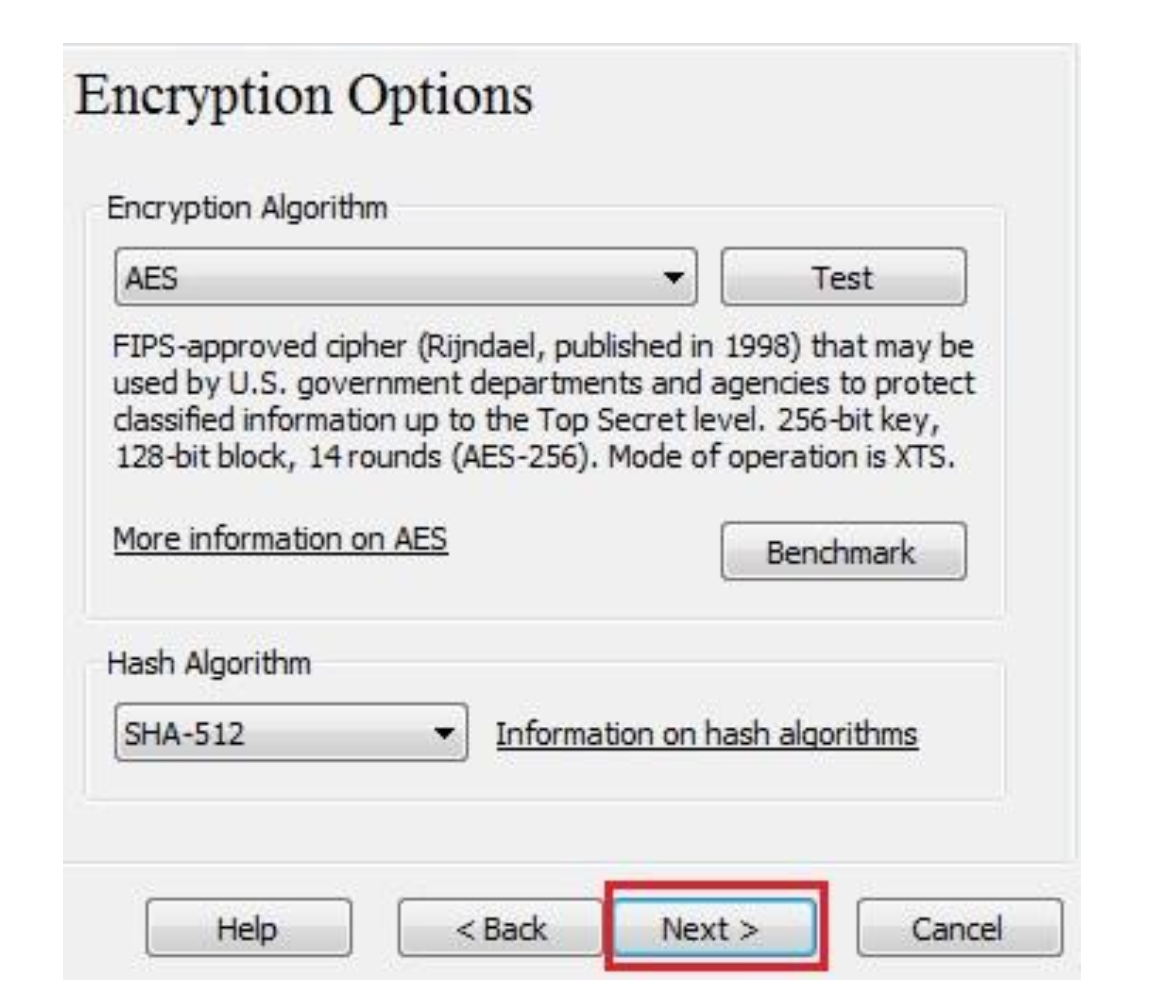
Use the default settings and click Next.
-
Here we specify that we wish the size of our VeraCrypt container to be 250 megabytes.
You may, of course, specify a different size.
After you type the desired size in the input field (marked with a red rectangle), click Next. -
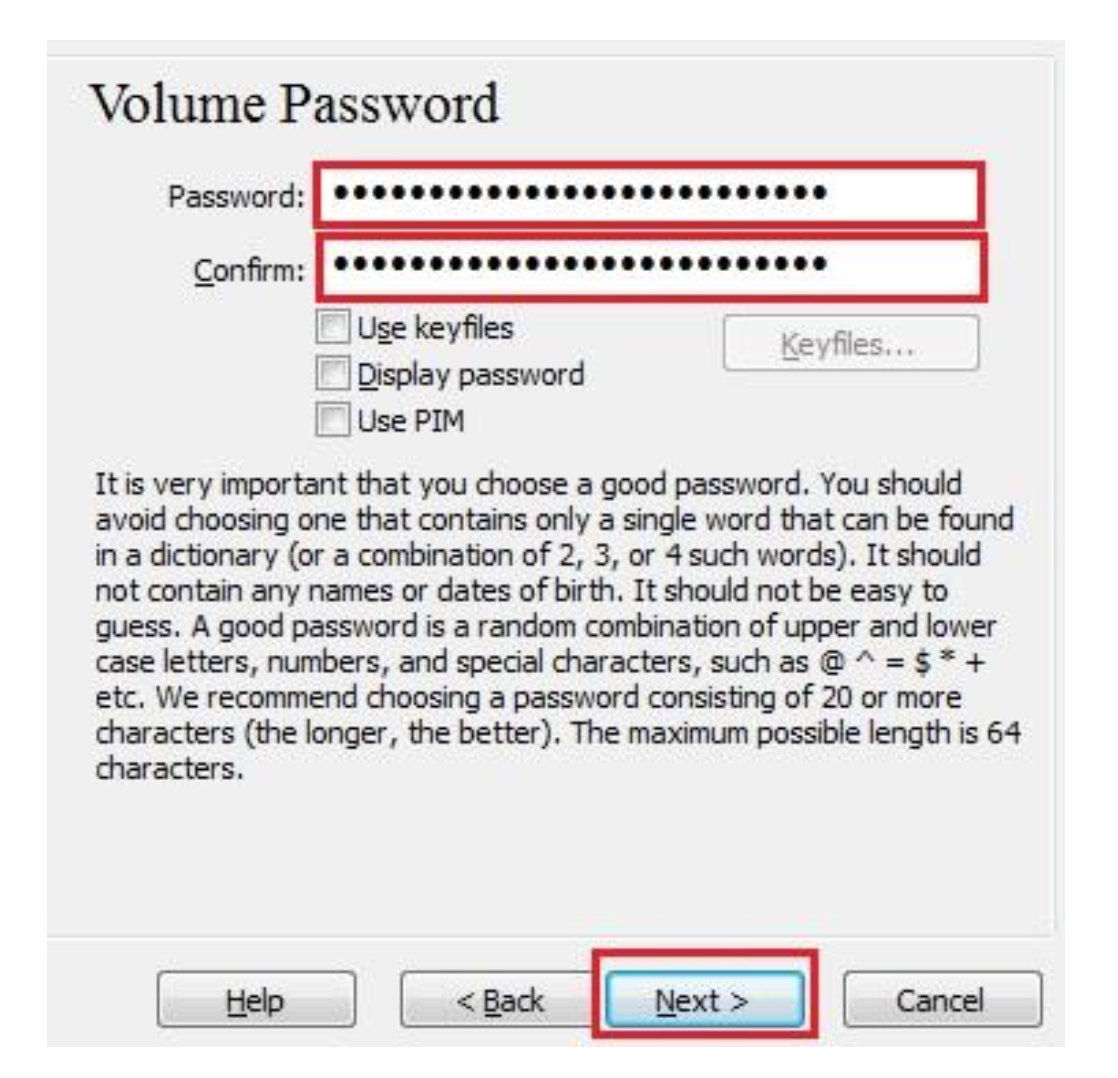
After you choose a good password, type it in the first input field.
Then re-type it in the input field below the first one and click Next.
(Note: The button Next will be disabled until passwords in both input fields are the same).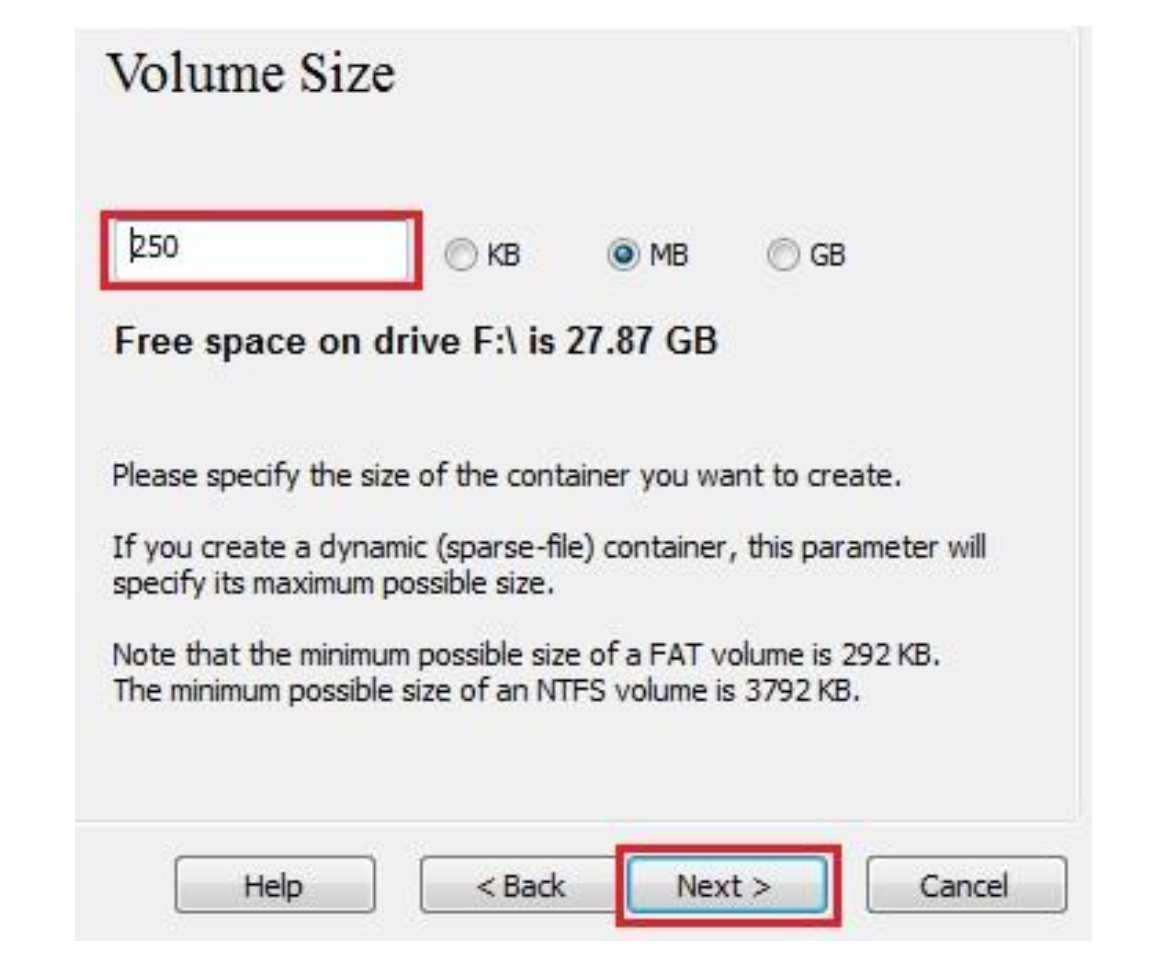
-
Move your mouse as randomly as possible within the Volume Creation Wizard window at least until the randomness indicator becomes green.
The longer you move the mouse, the better (moving the mouse for at least 30 seconds is recommended).
This significantly increases the cryptographic strength of the encryption keys (which increases security).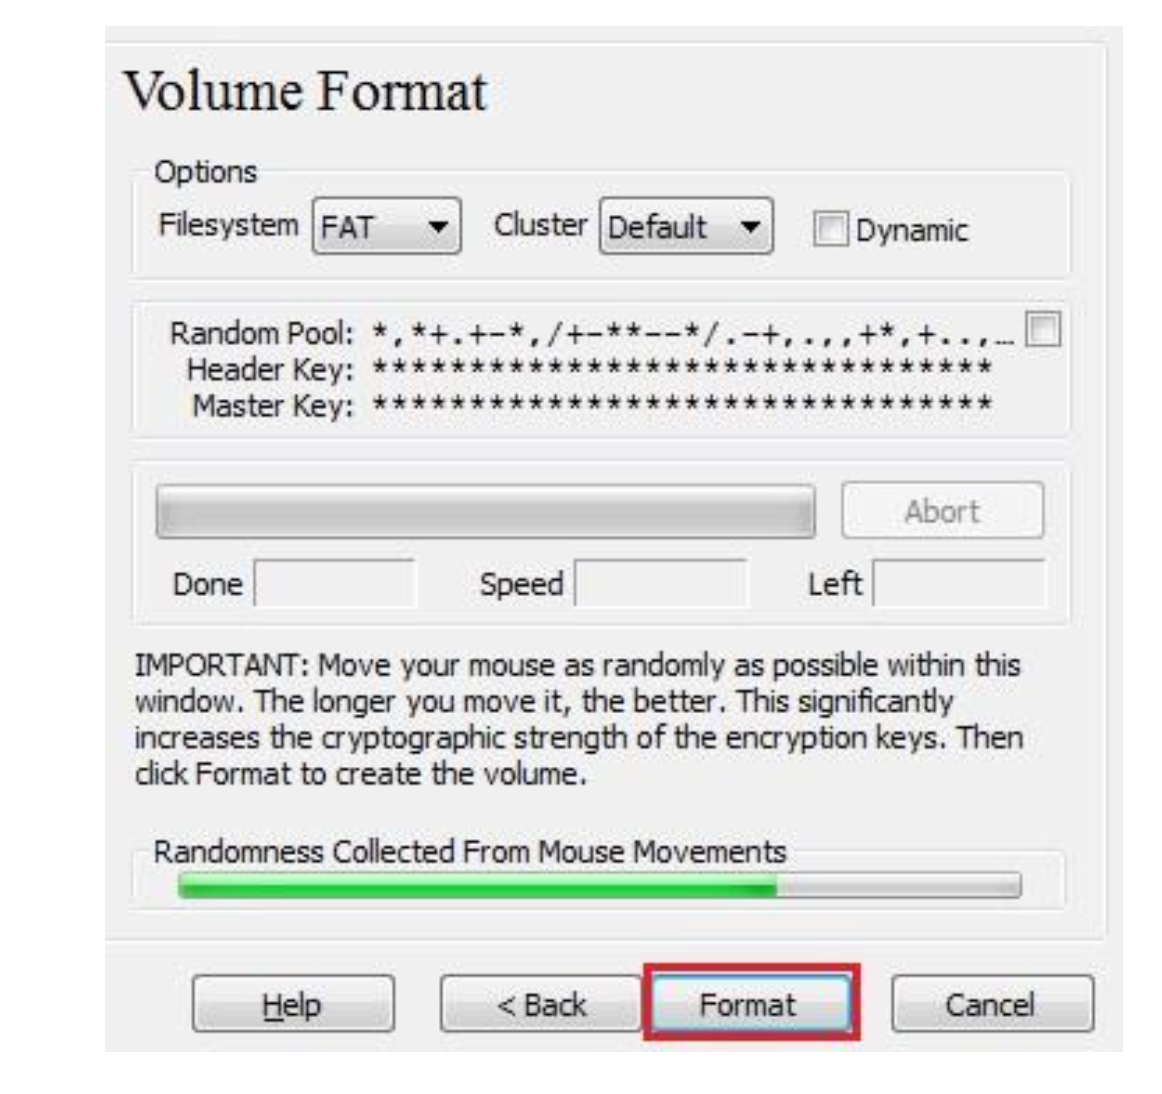
-
Click Format and volume creation should begin.
VeraCrypt will now create a file called container in the Documents folder.
This file will be a VeraCrypt container (it will contain the encrypted VeraCrypt volume).
Depending on the size of the volume, the volume creation may take a long time.
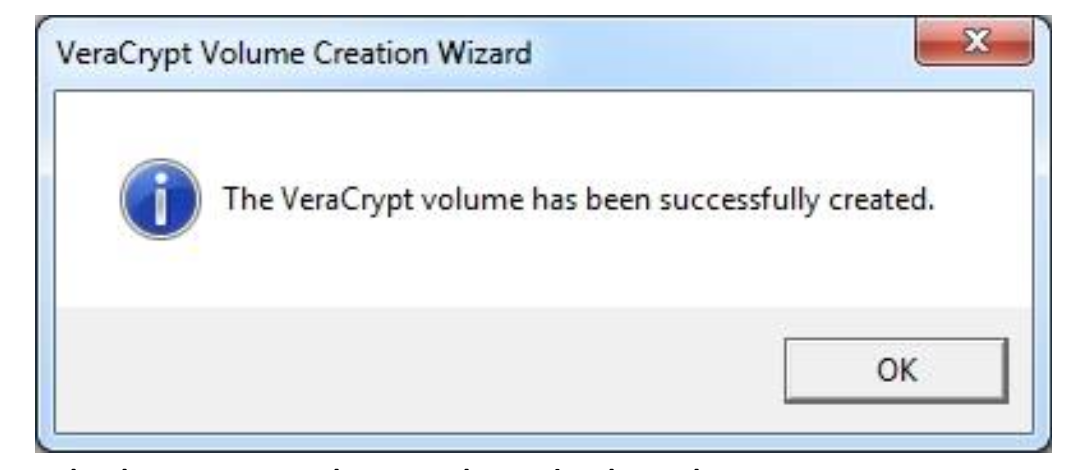
After it finishes, the following dialog box will appear:
Click OK to close the dialog box. -
You have just successfully created a VeraCrypt volume (file container).
In the VeraCrypt Volume Creation Wizard window, click Exit and the Wizard window should disappear.
-
In the remaining steps, we will mount the volume we just created.
We will return to the main VeraCrypt window which should still be open (if it is not, repeat Step 1 to launch VeraCrypt and then continue).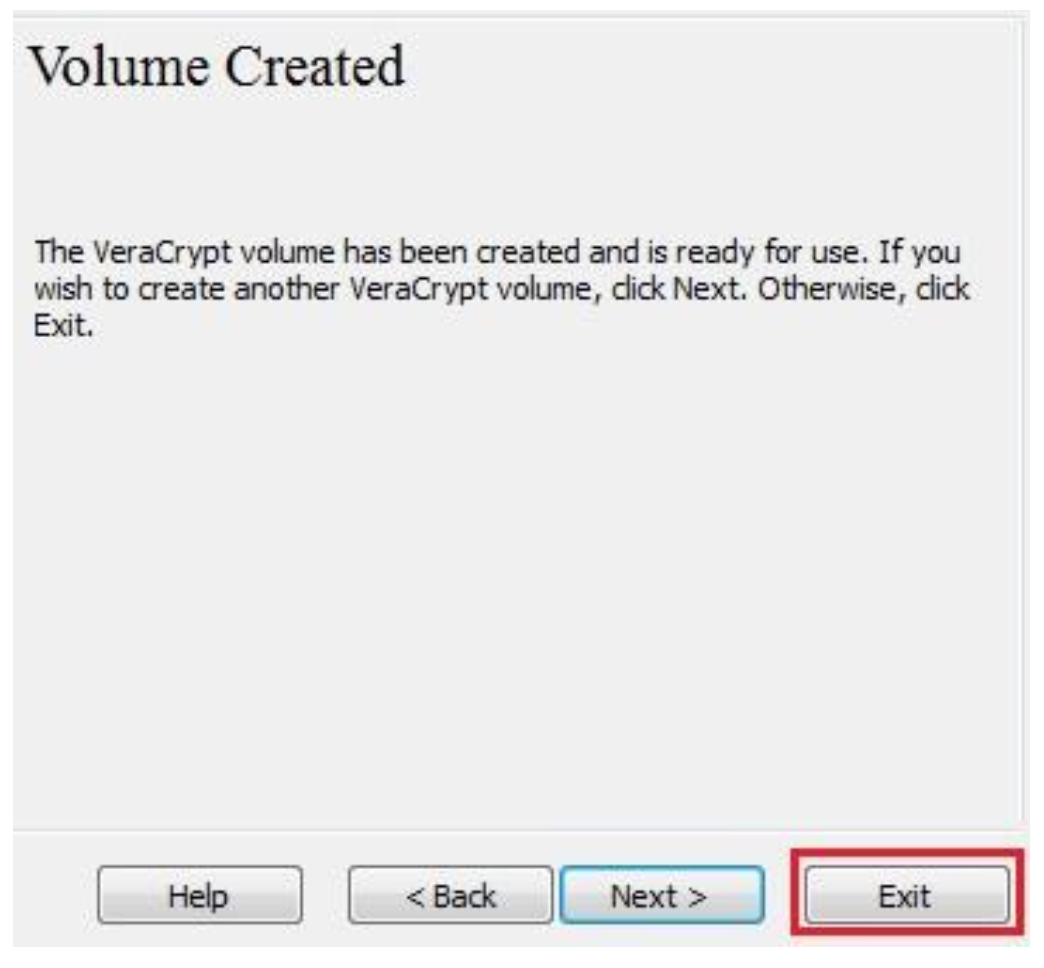
-
Select a drive letter from the list (marked with a red rectangle).
This will be the drive letter to which the VeraCrypt container will be mounted.
In this tutorial, we chose the drive letter M, but you may of course choose any other available drive letter. -
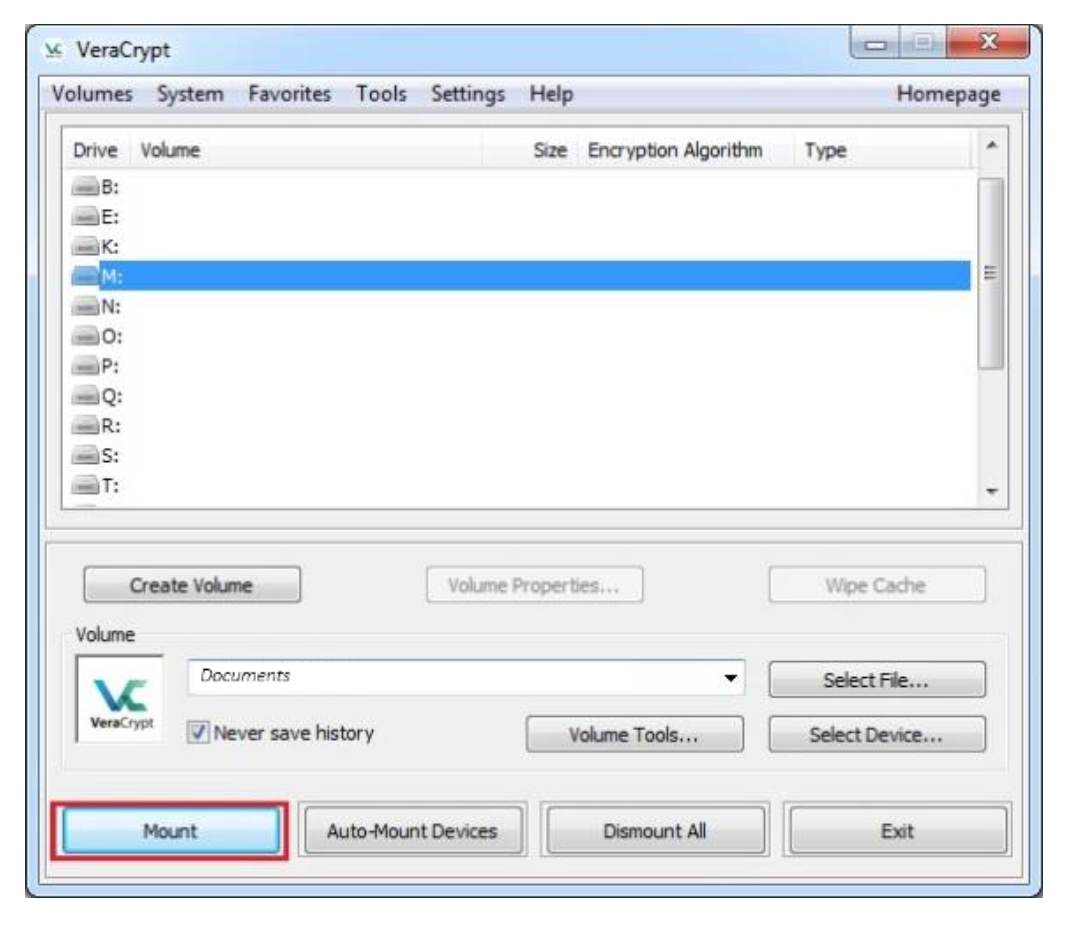
Click Select File.
In the file selector, browse to the confidential container file in your Documents folder; select it and click Open.
The file selector window should disappear.
In the following steps, we will return to the main VeraCrypt window.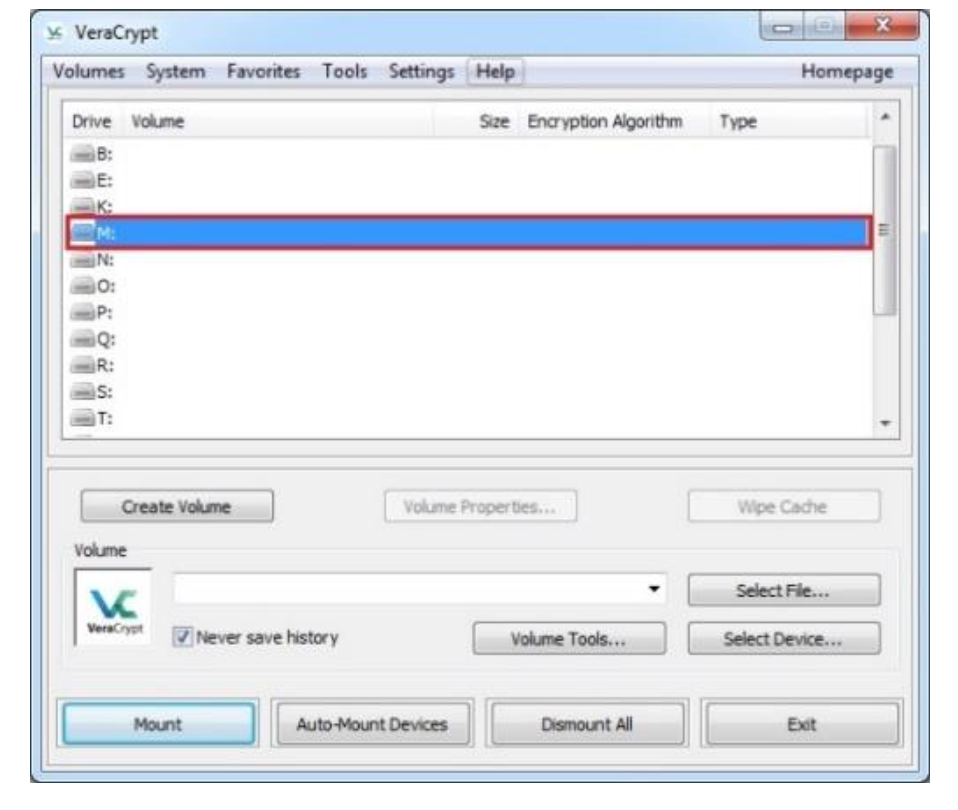
-
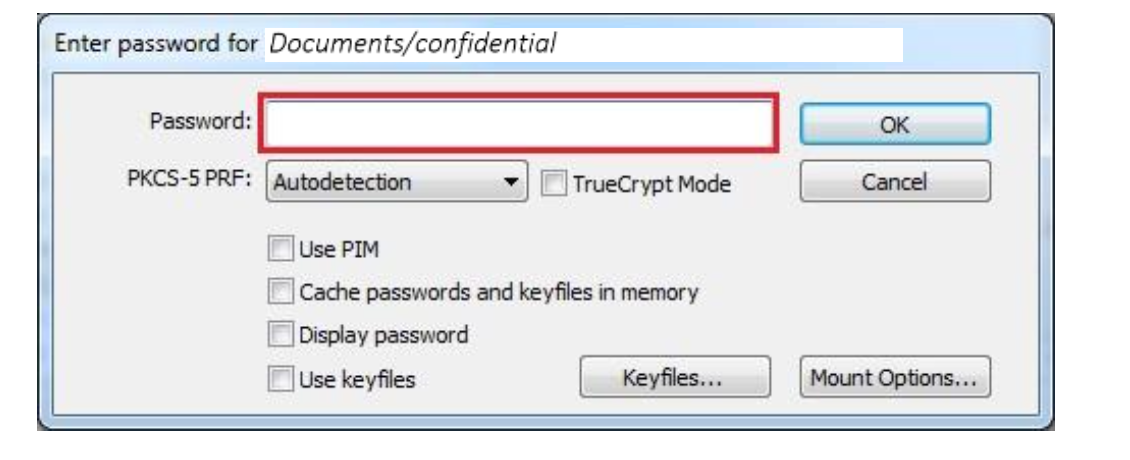
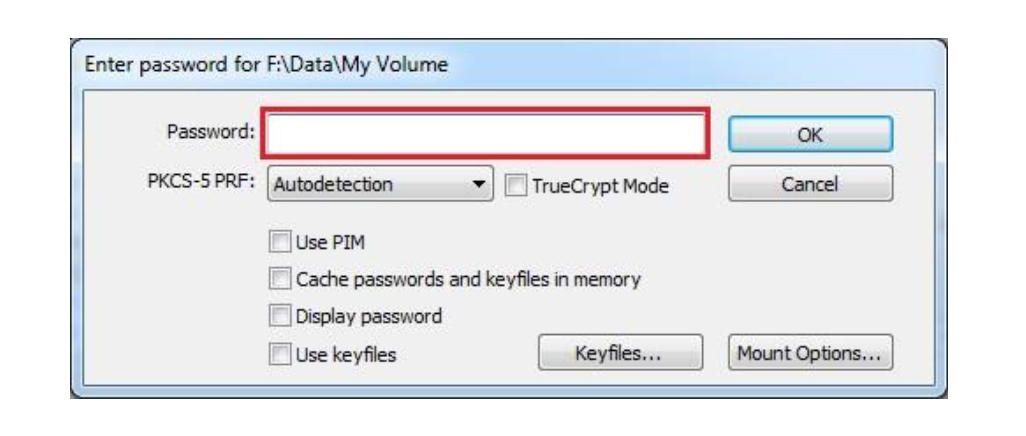
In the main VeraCrypt window, click Mount and the Password prompt dialog window should appear.
Type the password (which you previously specified) in the password input field (marked with a red rectangle).
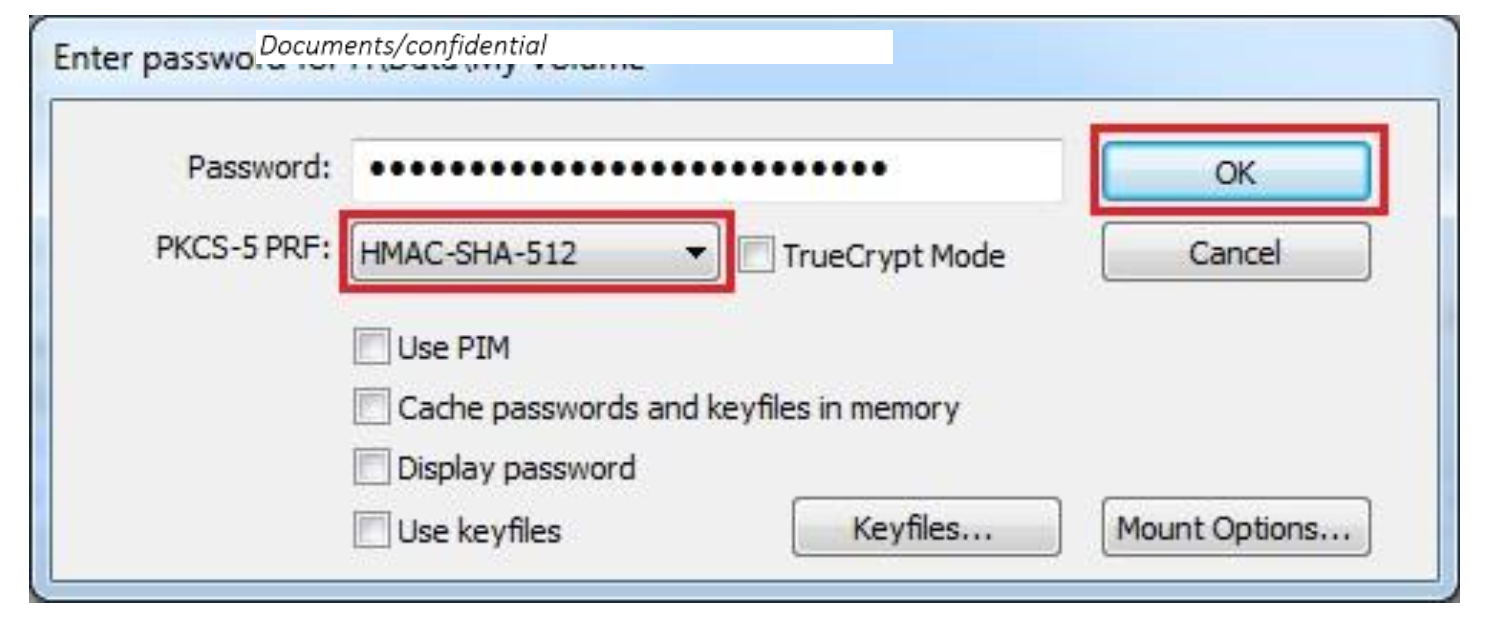
Click OK after entering the password.
VeraCrypt will now attempt to mount the volume.
If the password is incorrect (for example, if you typed it incorrectly), VeraCrypt will notify you and you will need to repeat the previous step (type the password again and click OK).
If the password is correct, the volume will be mounted.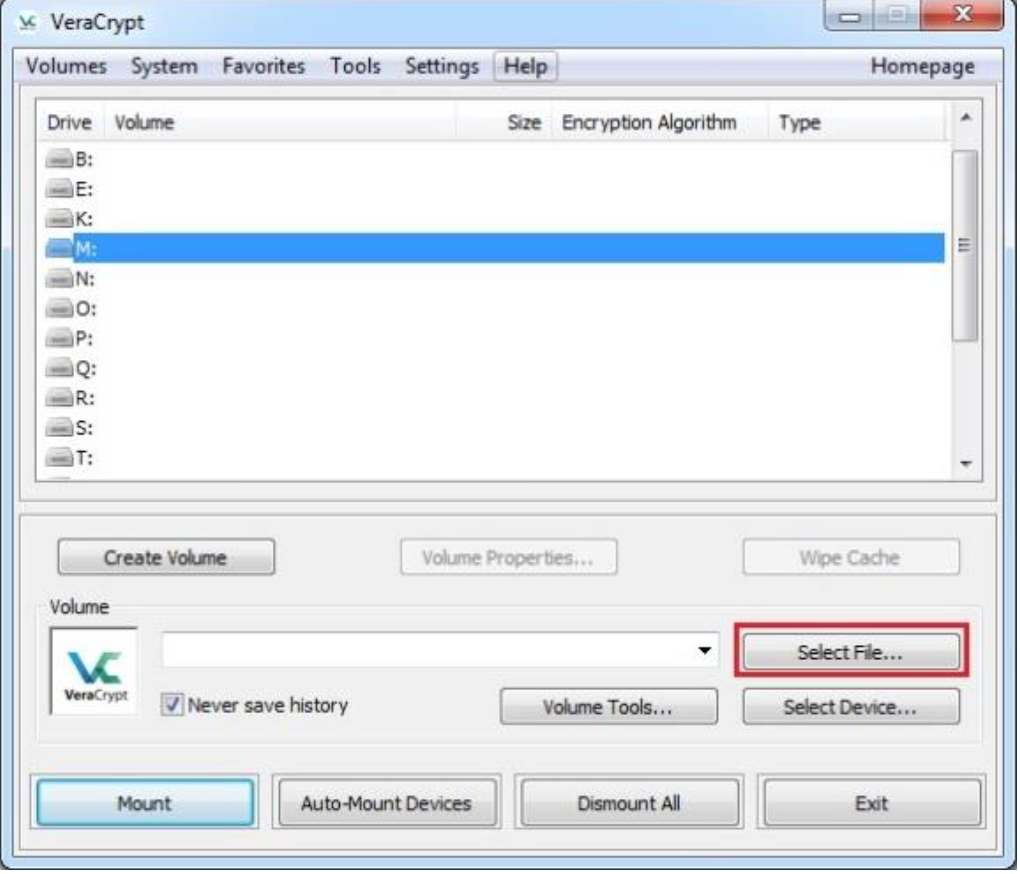
-
You have just successfully mounted the container as a virtual disk M:.
The virtual disk is entirely encrypted (including file names, allocation tables, free space, etc.) and behaves like a real disk.
You can save (or copy, move, etc.) files to this virtual disk and they will be encrypted on the fly as they are being written.If you open a file stored on a VeraCrypt volume, for example, in a media player, the file will be automatically decrypted to RAM (memory) on the fly while it is being read.
Important: Note that when you open a file stored on a VeraCrypt volume (or when you write/copy a file to/from the VeraCrypt volume) you will not be asked to enter the password again.
You need to enter the correct password only when mounting the volume.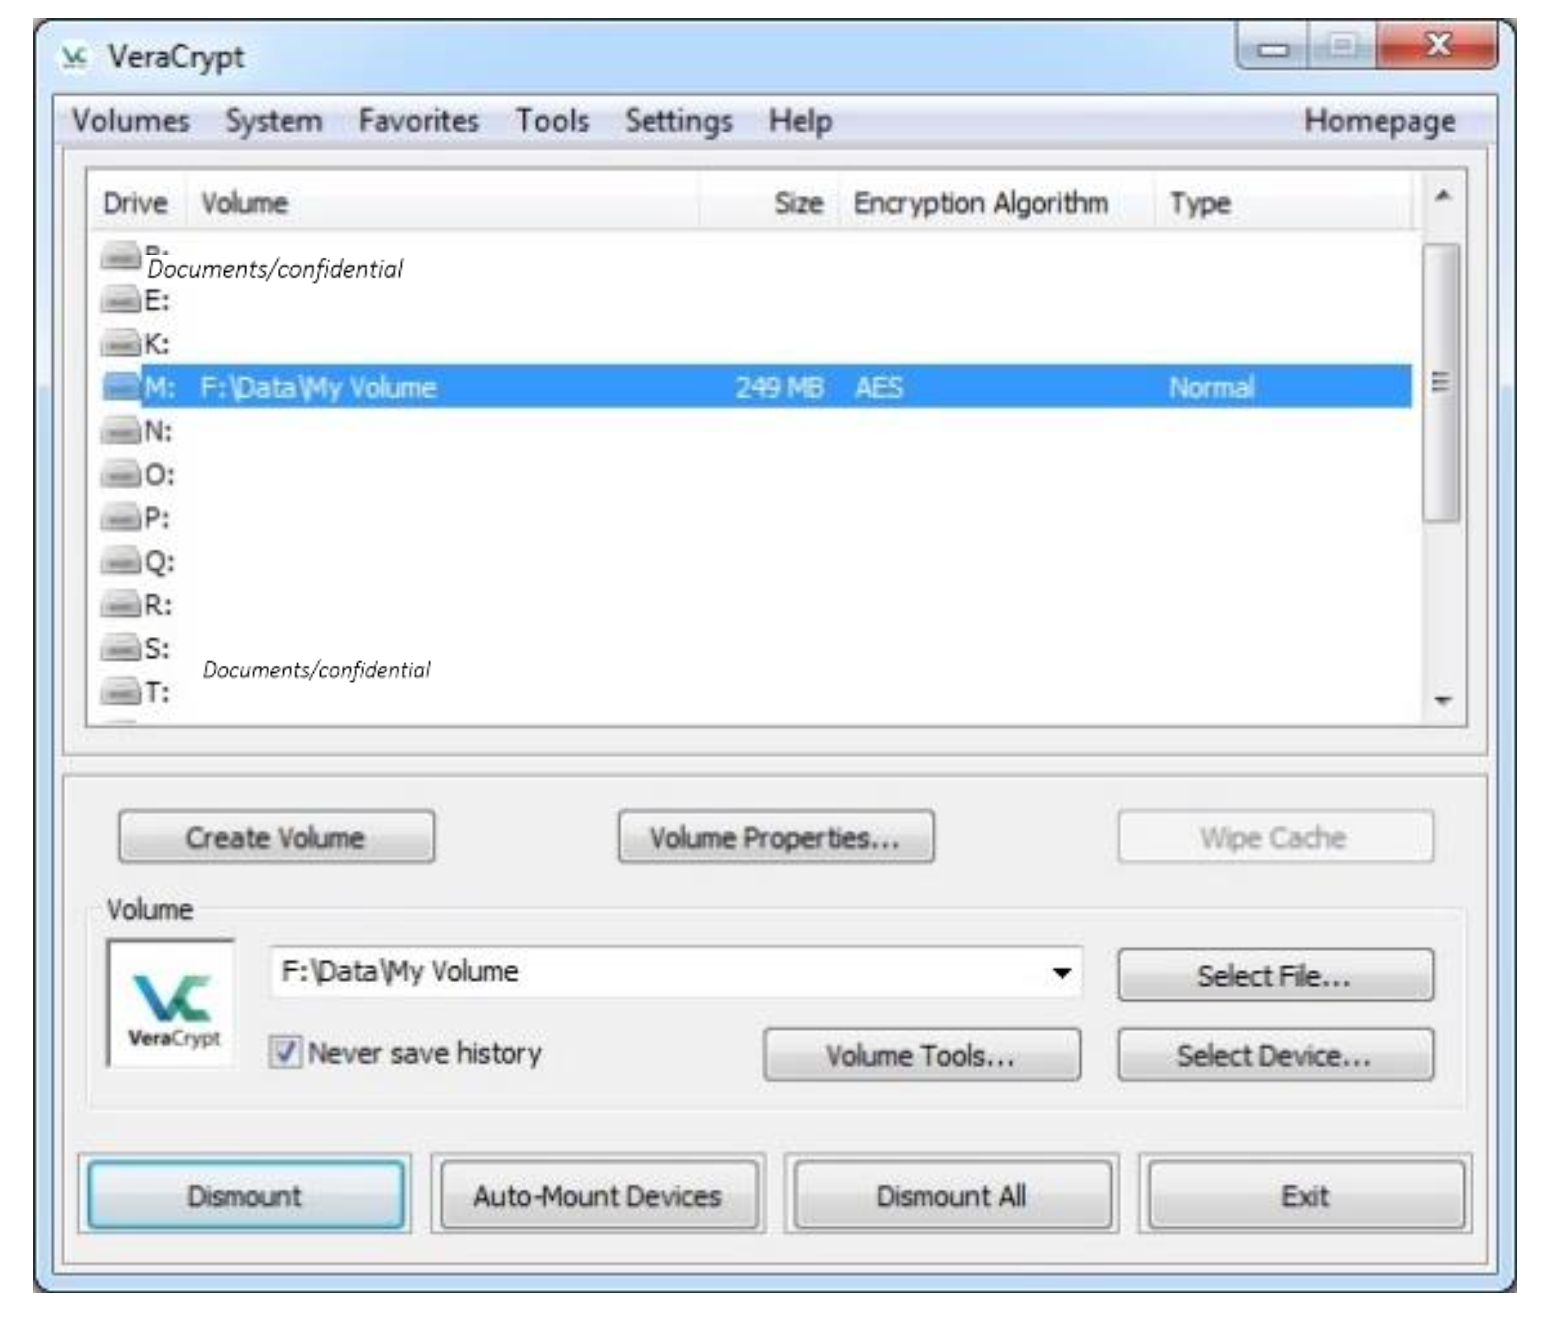
-
You can open the mounted volume by going to Windows File Explorer and double clicking Drive M.
You can copy files (or folders) to and from the VeraCrypt volume just as you would copy them to any normal disk (for example, by simple drag-and-drop operations).
Files that are being read or copied from the encrypted VeraCrypt volume are automatically decrypted on the fly in RAM (memory).
Similarly, files that are being written or copied to the VeraCrypt volume are automatically encrypted on the fly in RAM (right before they are written to the disk). -
Add some content to your VeraCrypt container.
Note that VeraCrypt never saves any decrypted data to a disk - it only stores them temporarily in RAM (memory).
Even when the volume is mounted, data stored in the volume is still encrypted.
When you restart Windows, or turn off your computer, the volume will be dismounted, and all files stored on it will be inaccessible (and encrypted). -
Restart your workstation, remount your container and check that the content that you added is still there.
-
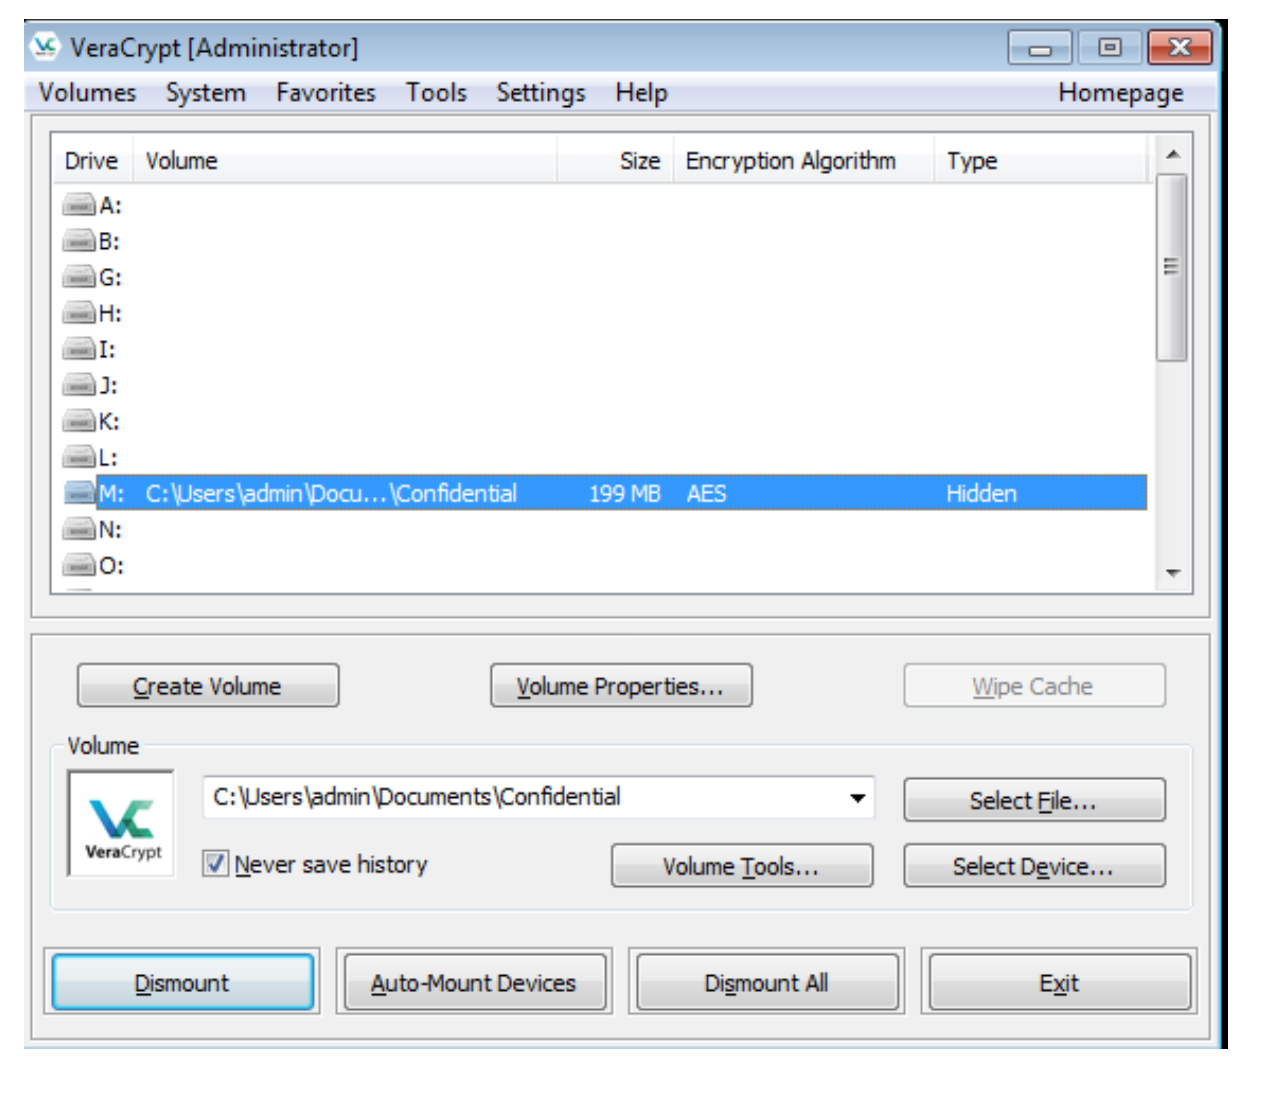
If you want to close the volume and make your files inaccessible, either restart your operating system or dismount the volume.
To do so, follow these steps:
Select the volume from the list of mounted volumes in the main VeraCrypt window (marked with a red rectangle in the screenshot above) and then click Dismount (also marked with a red rectangle).
Activity 2: Creating a Hidden VeraCrypt Container inside an Existing Outer Container
-
In this lab you are creating an encrypted hidden volume inside a VeraCrypt Container.
-
Launch VeraCrypt and click on Create Volume and select Create an encrypted container.
Click Next.
Select No for the warning message. -
Select Hidden VeraCrypt and click Next.
-
In the next step you need to specify where you want to create a new VeraCrypt Volume with its hidden section or to add a hidden section to an already existing volume.
For this tutorial, we are going to add a hidden section to an already existing container (i.e. Confidential volume, created earlier in the lab).
Hence, select the Direct mode option and click Next.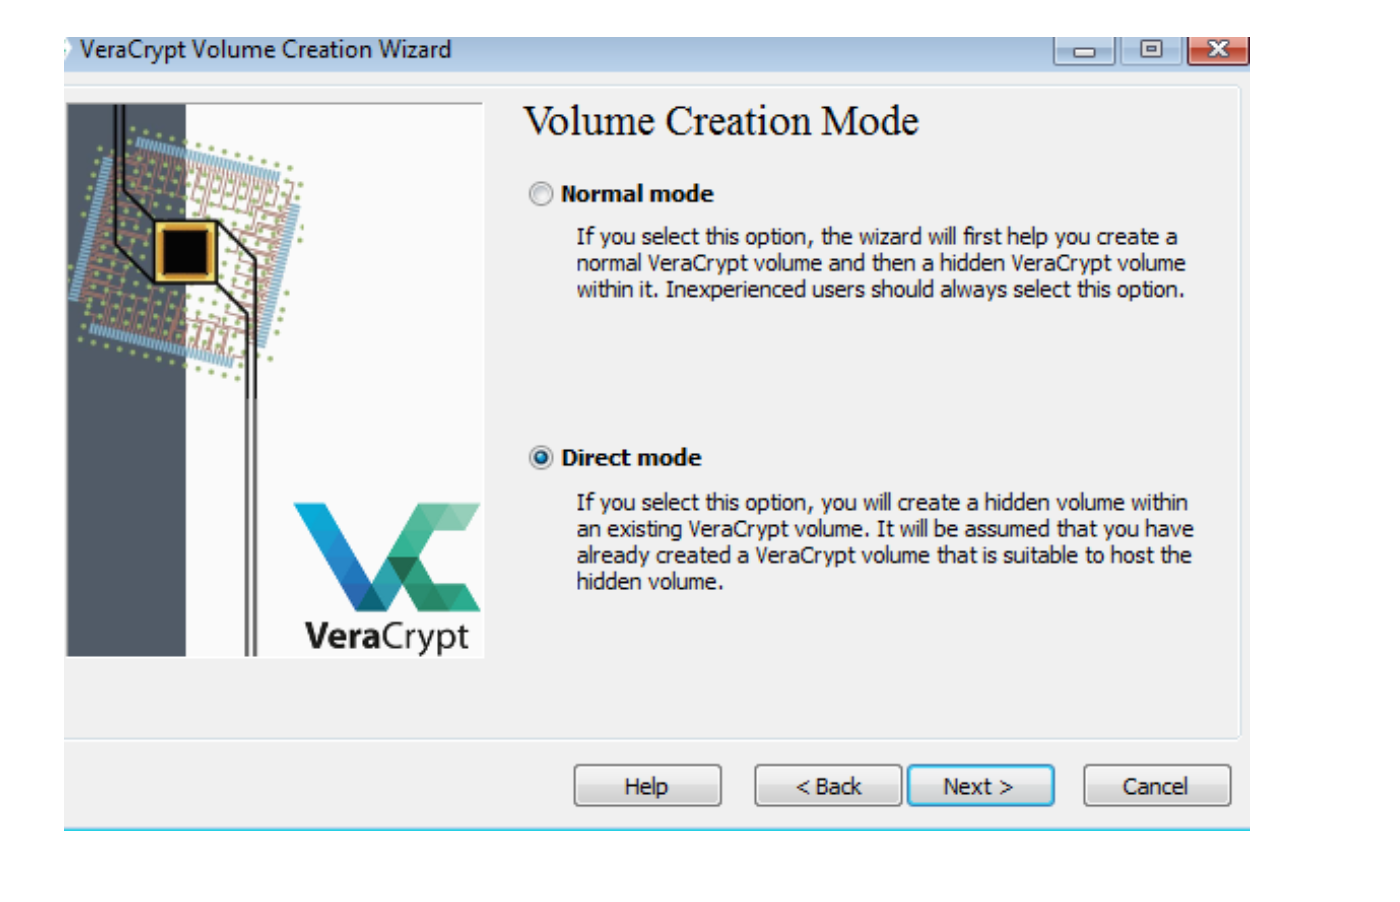
-
Select the already created outer container by clicking on Select File.
The standard Windows file selector should appear (while the window of the VeraCrypt Volume Creation Wizard remains open in the background).
Select an existing outer container file, i.e. Confidential, and click Next.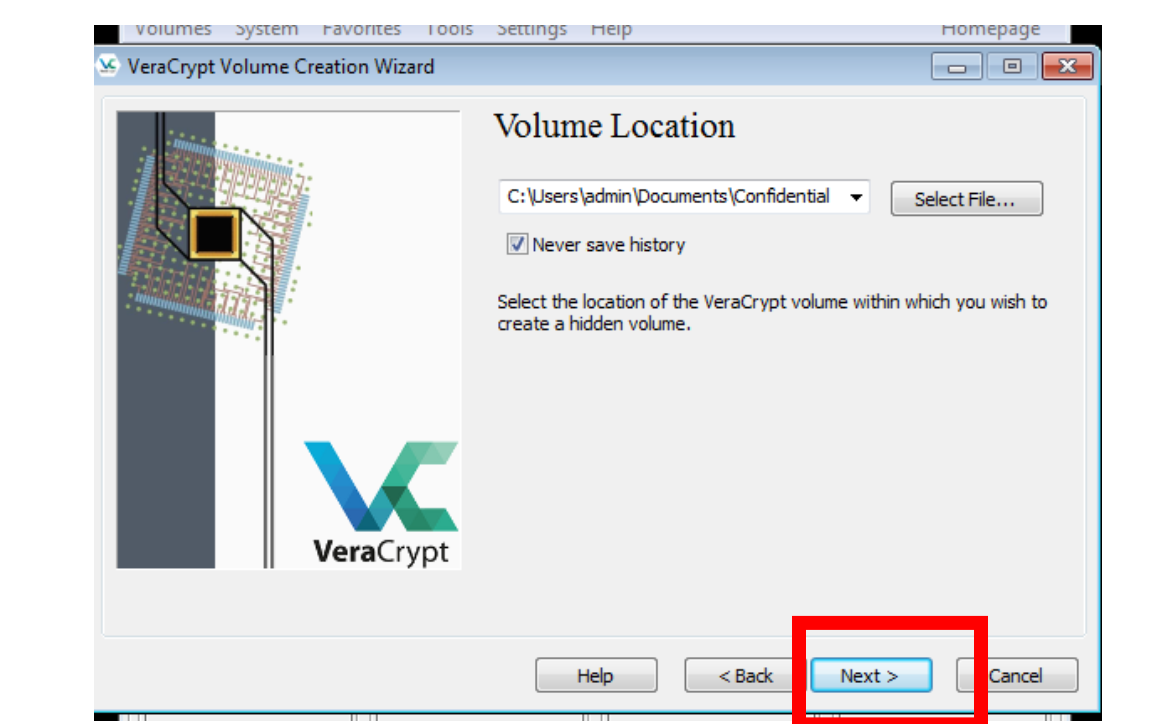
-
Enter your password for the outer container.
Click Next. -
Next, you need to set the encryption options for the hidden volume.
Use the default settings and click Next.
-
In the next step you need to set the size for the hidden (inner) volume.
Select 200 MB size and click Next.
-
Choose a good password for the hidden volume and type it in the first input field, then confirm it in the second and click Next.
-
In the next step, move your mouse as randomly as possible within the Volume Creation Wizard window at least until the randomness indicator becomes green.
The longer you move the mouse, the better (moving the mouse for at least 30 seconds is recommended).
This significantly increases the cryptographic strength of the encryption keys (which increases security). -
When the bar is green, click Format.

-
After it finishes, the following dialog box will appear.
Click OK to close the dialog box.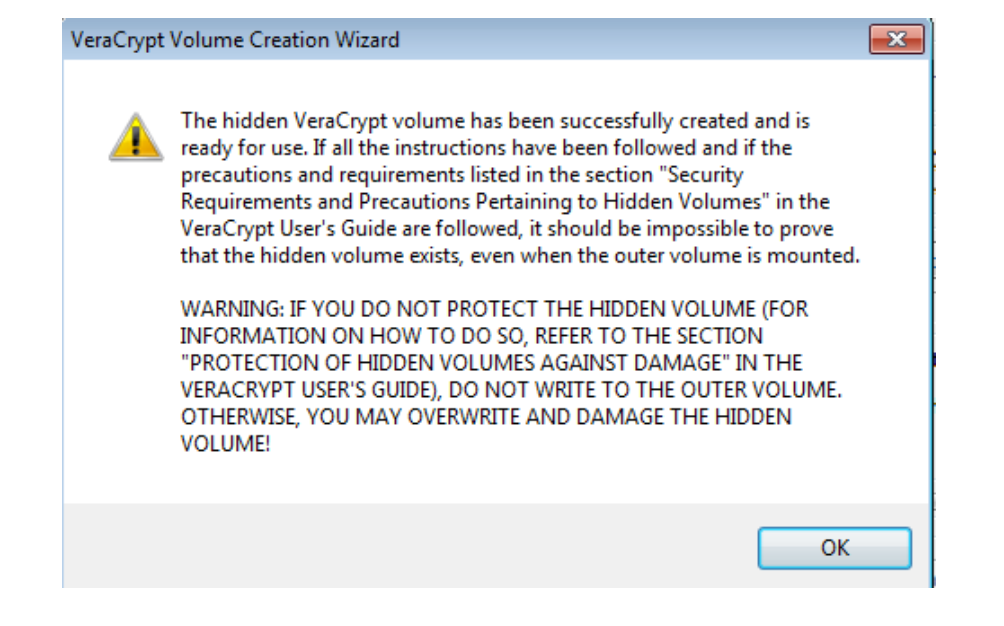
-
You have just successfully created a Hidden VeraCrypt volume (inner container) inside the outer container, Confidential.
In the VeraCrypt Volume Creation Wizard window, click Exit and the Wizard window should disappear.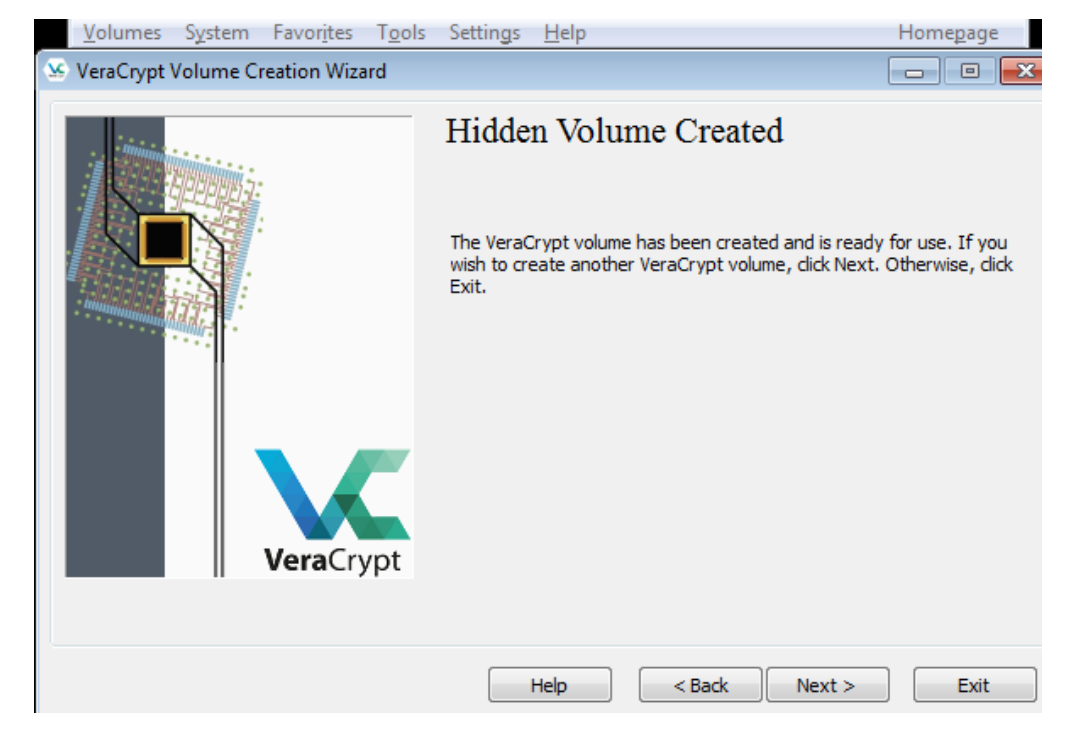
Activity 3: Mounting a Hidden VeraCrypt Container
-
In the remaining steps, we will mount the hidden volume we just created.
We will return to the main VeraCrypt window which should still be open (if it is not, launch VeraCrypt and then continue).
Select a drive letter from the list (marked with a red rectangle).
This will be the drive letter to which the VeraCrypt container will be mounted.
In this tutorial, we chose the drive letter M, but you may of course choose any other available drive letter.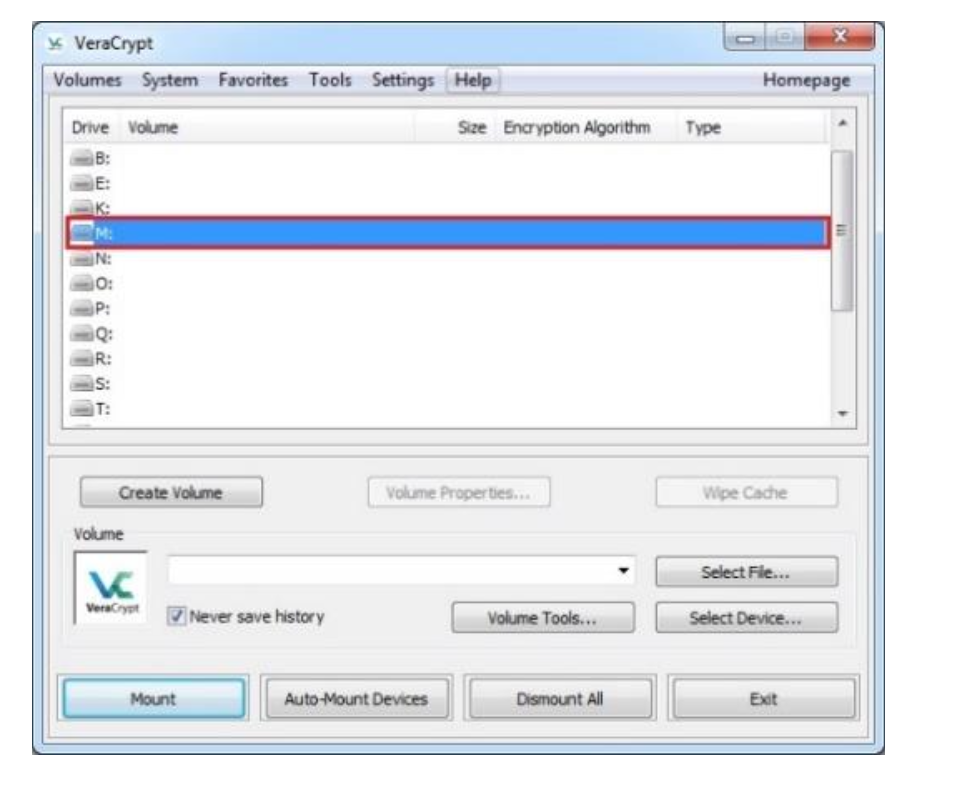
-
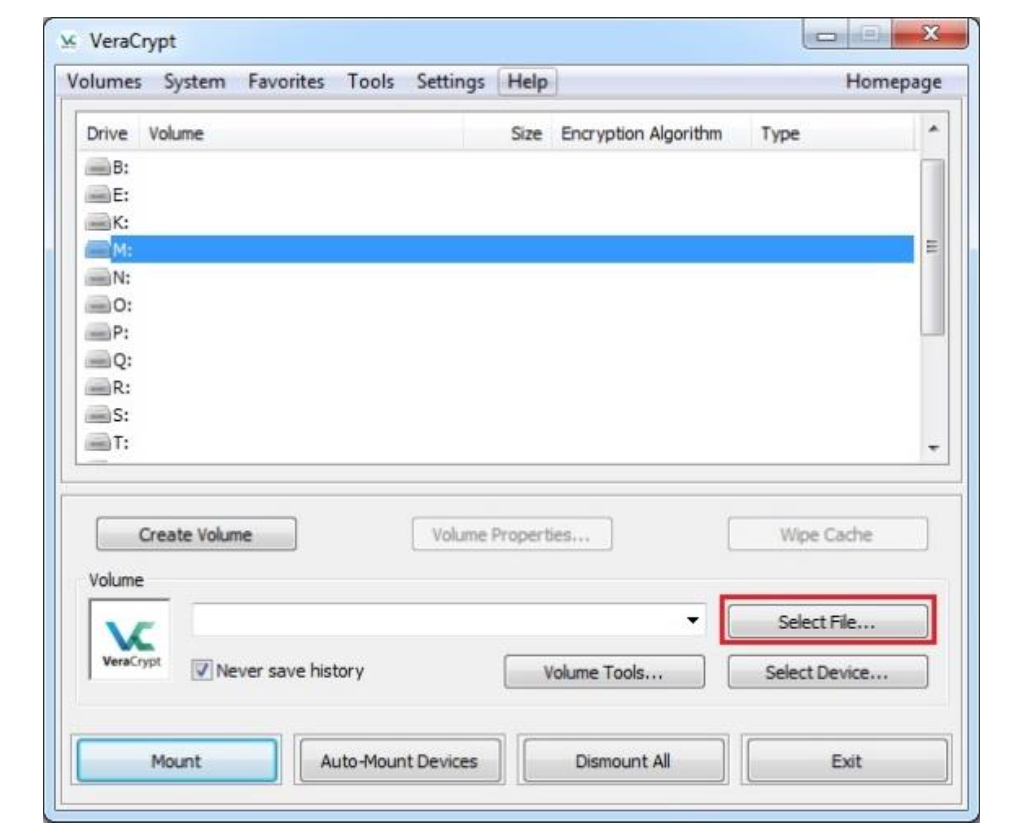
Click Select File.
-
The standard file selector window should appear.
In the file selector, browse to the Confidential container file in your Documents folder, select it and click Open. -
In the main VeraCrypt window, click Mount and the Password prompt dialog window should appear.
Type the hidden container password in the password input field.
Click OK after entering the password.
VeraCrypt will now attempt to mount the hidden volume.
If the password is incorrect (for example, if you typed it incorrectly), VeraCrypt will notify you and you will need to repeat the previous step (type the password again and click OK).
If the password is correct, the volume will be mounted.You have just successfully mounted the hidden container as a virtual disk M:.
The virtual disk is entirely encrypted (including file names, allocation tables, free space, etc.) and behaves like a real disk.
You can save (or copy, move, etc.) files to this virtual disk and they will be encrypted on the fly as they are being written.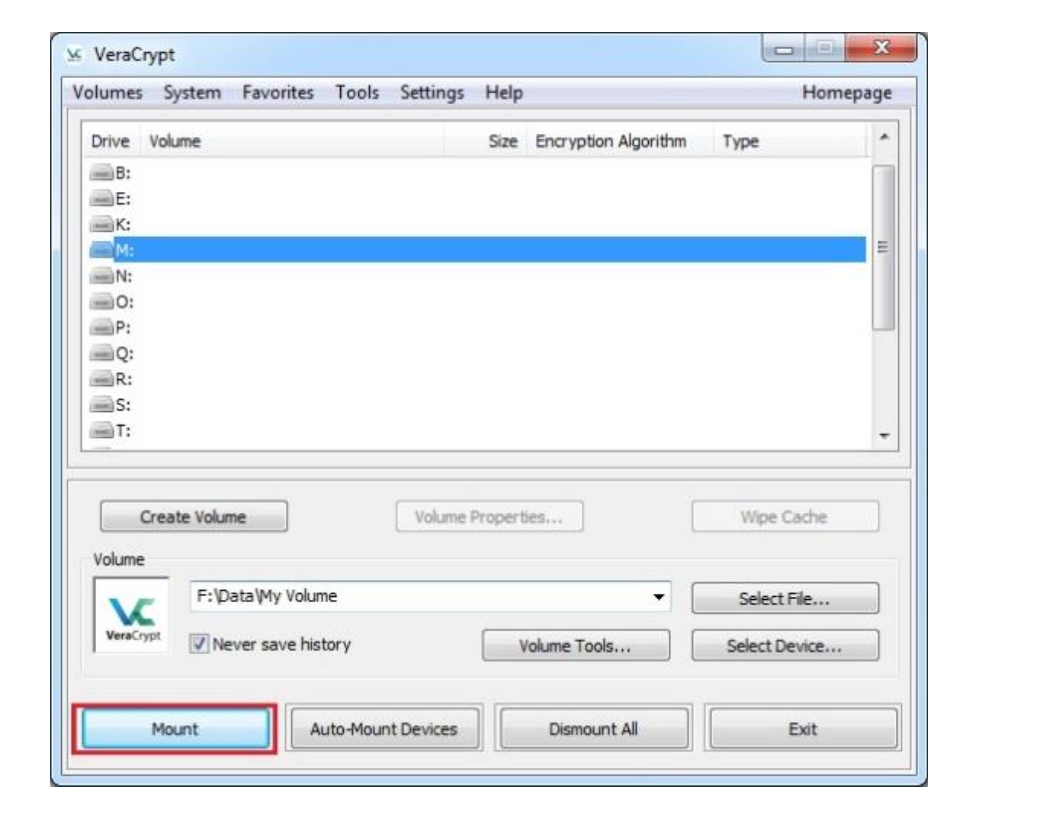

-
You can open the mounted volume by going to Windows File Explorer and double clicking Drive M.
You can copy files to and from the VeraCrypt Hidden volume just as you would copy them to any normal disk.
Add a file(s) and picture(s) to this volume. -
Select the volume from the list of mounted volumes in the main VeraCrypt window and then click Dismount.
-
Repeat the steps 1 - 5 of Activity 3 and mount the outer volume, Confidential.
Can you see your added files in this container?
Best,
Ali.